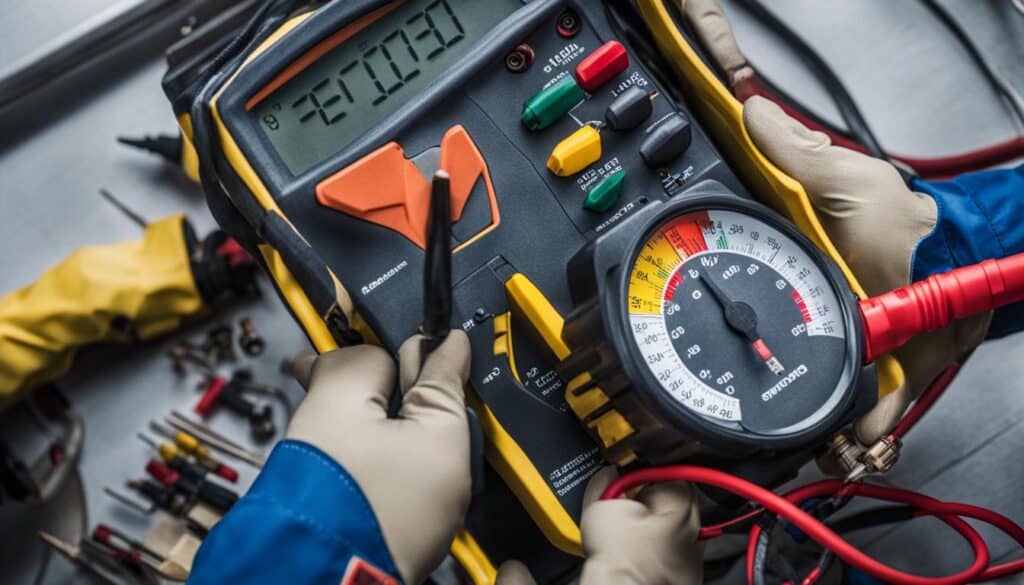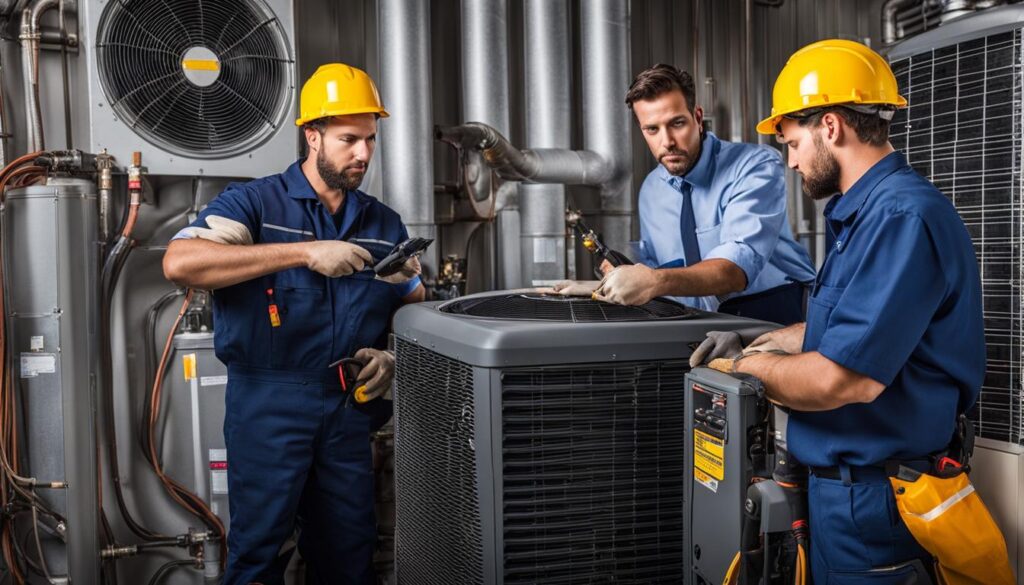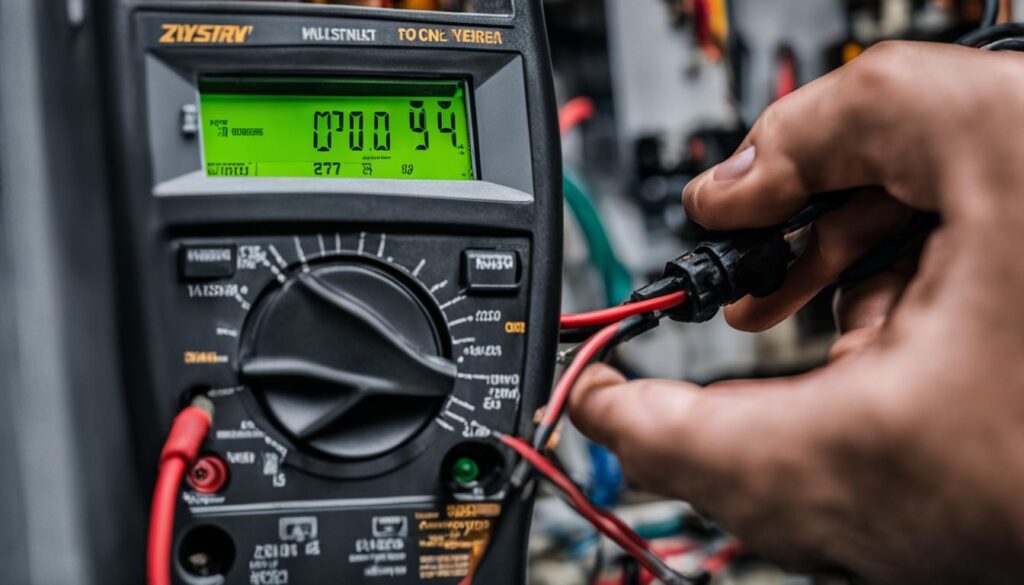
By understanding the components of your HVAC system and following a systematic troubleshooting process, you can save time and money by resolving minor issues on your own. However, it’s important to know when to call in the experts for more complex repairs.
So, if you’re ready to become an HVAC diagnostic pro, let’s dive into the essentials of troubleshooting your HVAC system!
Key Takeaways:
- With some troubleshooting knowledge, you can fix common HVAC problems yourself.
- Understanding your HVAC system’s components is crucial for effective troubleshooting.
- Follow a step-by-step process to identify and resolve issues systematically.
- Regular maintenance tasks like filter replacement and vent inspection can prevent problems.
- Know when it’s time to call in HVAC experts for complex issues or professional repairs.
Understanding Your HVAC System
An HVAC system, which stands for heating, ventilation, and air conditioning, is a crucial component of any home. It ensures that you have a comfortable and healthy living environment by controlling the temperature, humidity, and air quality. To fully understand how your HVAC system works and troubleshoot any potential issues, it’s important to have a basic understanding of its key components.
Heating
The heating component of your HVAC system is responsible for keeping your home warm during colder months. This can be achieved through various systems, such as a furnace, a heat pump, or a boiler. Furnaces are the most common heating systems, using fuel, gas, or electricity to produce heat. Heat pumps, on the other hand, extract heat from the air or ground and transfer it indoors. Boilers rely on water or steam to distribute heat throughout your home.
Ventilation
Ventilation refers to the process of moving air in and out of your home. Proper ventilation helps maintain optimal indoor air quality by removing pollutants, controlling humidity levels, and replenishing oxygen. Ventilation systems can include fans, exhaust systems, and air ducts. These components work together to ensure that stale air is expelled and replaced with fresh, clean air.
Air Conditioning
In hot summer months, air conditioning becomes essential for maintaining a cool and comfortable indoor environment. Air conditioning systems remove heat and humidity from the air, allowing you to enjoy cooler temperatures. The most common type of air conditioning system is the central air conditioner, which uses refrigerant to absorb and release heat. Other options include ductless mini-split systems and window units.
By understanding the components of your HVAC system and how they work together, you can better troubleshoot and identify any issues that may arise. In the following sections, we will provide you with step-by-step troubleshooting tips for common HVAC problems, ensuring that you can address minor issues and make informed decisions when seeking professional help.
Troubleshooting Steps
When troubleshooting your HVAC system, it’s important to follow a step-by-step process. This helps you identify and resolve any problems effectively. Here are the key troubleshooting steps you should take:
1. Check the Thermostat
The thermostat is the control center of your HVAC system, so it’s essential to ensure it’s functioning correctly. Start by checking the temperature settings to make sure they’re at the desired level. If the temperature doesn’t match your settings, try replacing the batteries or resetting the thermostat. Additionally, check if the thermostat is clean and free from any debris or dust that could affect its operation.
2. Inspect the Air Filters
Dirty filters can restrict airflow and reduce the efficiency of your HVAC system. Inspect the air filters and replace them if they’re clogged or dirty. Regular filter replacement is crucial for maintaining optimal airflow and improving indoor air quality. Refer to the manufacturer’s instructions for the appropriate filter replacement schedule.
3. Check Circuit Breakers and Power Supply
If your HVAC system is not turning on or experiencing intermittent power issues, check the circuit breakers in your electrical panel. Make sure the breakers for your HVAC system are in the “on” position. Additionally, inspect the power supply to the HVAC unit. Look for any loose connections or tripped breakers in the unit itself.
4. Examine Ductwork and Vents
Leaky ductwork or blocked vents can compromise the airflow in your HVAC system. Inspect the ductwork for any visible leaks or disconnected sections. Seal any gaps or leaks with appropriate duct tape or call a professional for repairs. Additionally, ensure that the vents in each room are open and unobstructed by furniture, rugs, or other objects.
By following these troubleshooting steps, you can often identify and resolve common HVAC issues. However, if you’re unable to resolve the problem or encounter more complex issues, it’s recommended to seek professional help for proper repairs and maintenance.
| Troubleshooting Steps | Description |
|---|---|
| Check the Thermostat | Ensure temperature settings are correct and the thermostat is clean. |
| Inspect the Air Filters | Check and replace dirty or clogged air filters to improve airflow. |
| Check Circuit Breakers and Power Supply | Verify that the circuit breakers and power supply are functioning properly. |
| Examine Ductwork and Vents | Inspect ductwork for leaks and ensure vents are open and unobstructed. |
Gas-Powered HVAC Check
If you have a gas-powered HVAC system, troubleshooting the gas supply is an essential step in identifying and resolving any issues. A lack of gas supply can result in your system not functioning properly, leading to inadequate heating or cooling in your home. To ensure your system is receiving the fuel it needs for efficient operation, follow these gas-powered HVAC check steps:
- Check the gas meter: Start by checking the gas meter outside your home. Ensure that the gas valve is open and the meter is functioning correctly. If you notice any issues, such as a closed valve or low gas pressure, contact your gas utility company for assistance.
- Inspect gas pipes: Examine the gas pipes connecting your HVAC system to the gas source. Look for any signs of damage, leaks, or loose connections. If you detect a gas leak, immediately shut off the gas supply and contact a professional HVAC technician to repair the issue.
- Test the gas valve: Locate the gas valve on your HVAC system and make sure it is in the “on” position. If the valve is turned off, switch it back on to allow the gas to flow to the system. If the valve is already open, try closing and reopening it to ensure it hasn’t become stuck.
- Verify pilot light or ignition: Check if the pilot light or ignition system is functioning correctly. If you have a pilot light, make sure it is ignited and producing a steady flame. For electronic ignition systems, listen for the sound of the igniter sparking. If there is no flame or spark, there might be an issue with the pilot assembly or ignition system, which requires professional attention.
By conducting a thorough gas-powered HVAC check, you can address any potential issues related to the gas supply. If you aren’t comfortable performing these steps yourself or if you encounter any major problems, it’s always best to seek the expertise of a qualified HVAC technician. They can ensure your gas-powered system operates safely and efficiently, providing optimal heating and cooling comfort for your home.
Gas-Powered HVAC Check Table
| Gas-Powered HVAC Check Steps | Description |
|---|---|
| Check the gas meter | Inspect the gas meter outside your home. Ensure the valve is open and the meter is functioning correctly. |
| Inspect gas pipes | Examine the gas pipes connecting your HVAC system to the gas source. Look for damage, leaks, or loose connections. |
| Test the gas valve | Locate the gas valve on your HVAC system and verify that it is in the “on” position. |
| Verify pilot light or ignition | Check if the pilot light or ignition system is functioning correctly, ensuring a steady flame or spark. |
Resetting Your HVAC System
Resetting your HVAC system is a crucial troubleshooting step that can often resolve minor issues. It involves a simple process of restarting the system to clear any temporary glitches or errors. Before proceeding with a reset, ensure that you have checked other troubleshooting steps mentioned earlier in this guide. If you have followed those steps and the issue persists, resetting your HVAC system can be an effective solution.
The process of resetting your HVAC system may vary depending on the specific model and brand. However, the general steps are relatively similar. Here’s a basic guide on how to safely and effectively reset your HVAC system:
- Locate the power switch or circuit breaker for your HVAC system. It is usually found near the indoor unit or on the main electrical panel of your home.
- Turn off the power switch or flip the circuit breaker to the “off” position. This will completely shut down the HVAC system.
- Wait for at least 30 seconds before turning the power switch back on or flipping the circuit breaker to the “on” position. This allows the system to fully reset.
- Once the power is restored, observe the system for any changes or improvements. It may take a few minutes for the system to start up and regulate the temperature.
- If the issue persists after the reset, it is recommended to seek professional assistance to diagnose and resolve the problem.
Remember that resetting your HVAC system should only be done for minor issues. If you are unsure or uncomfortable performing a reset, it is always best to consult a qualified HVAC technician for assistance. They have the expertise and knowledge to handle more complex problems and ensure the proper functioning of your HVAC system.
Furnace Door Maintenance Checklist
| Checklist Item | Description |
|---|---|
| Clear obstructions | Remove any debris or objects that may hinder the proper closure of the furnace door. |
| Tighten screws | Ensure that all screws on the furnace door and hinges are securely tightened. |
| Inspect gasket | Check the furnace door gasket for any signs of wear, fraying, or damage. |
| Replace gasket if needed | If the gasket is cracked or deteriorated, replace it promptly to maintain an airtight seal. |
By regularly maintaining your furnace door, you can prevent potential issues and ensure the proper functioning of your HVAC system. Remember to follow the manufacturer’s guidelines for your specific furnace model and seek professional assistance if you encounter any complex problems. With these maintenance tips, you can troubleshoot and maintain the efficiency of your furnace door for optimal HVAC performance.
Remember, troubleshooting your thermostat is just one step in identifying and resolving HVAC issues. If you have followed these troubleshooting steps and are still experiencing problems with your HVAC system, it may be time to seek professional help. HVAC experts can diagnose and fix complex issues that may require specialized knowledge and equipment.
Filter Replacement
One of the most important maintenance tasks for your HVAC system is regular filter replacement. Dirty filters can restrict airflow, reduce system efficiency, and even contribute to poor indoor air quality. To ensure optimal performance and air quality, it’s crucial to replace your filters on a regular basis.
The frequency of filter replacement depends on various factors, such as the type of filter you use and your household’s specific needs. As a general guideline, it’s recommended to replace standard 1-inch filters every 1 to 3 months, while higher-efficiency filters may last up to 6 months or longer. However, it’s essential to check your manufacturer’s recommendations for your specific system.
To replace your filters, follow these simple steps:
- Locate the filter access panel on your HVAC system. It’s typically on the return air duct or near the blower compartment.
- Turn off your HVAC system to prevent the fan from circulating dust and debris.
- Remove the old filter carefully, taking note of the direction of the airflow indicated on the filter.
- Insert the new filter, ensuring it’s correctly oriented with the airflow arrow pointing towards the blower.
- Close the filter access panel securely.
- Turn on your HVAC system and monitor its performance to ensure proper airflow.
Regular filter replacement not only improves the efficiency and lifespan of your HVAC system but also contributes to better indoor air quality by trapping airborne particles like dust, pollen, and pet dander. By maintaining clean filters, you can enjoy a healthier and more comfortable living environment.
| Type of Filter | Average Lifespan | Benefits |
|---|---|---|
| Standard 1-inch Filters | 1 to 3 months | Basic filtration for dust and larger particles |
| Higher-Efficiency Filters (e.g., HEPA) | Up to 6 months (or longer) | Enhanced filtration for smaller particles like allergens and pollutants |
| Electrostatic Filters | 3 to 4 months | Effective filtration for particles and improved air quality |
Vents Inspection
When troubleshooting your HVAC system, it’s important to inspect the vents for any obstructions that may be impacting airflow. Proper airflow is essential for the efficient operation of your HVAC system and ensuring optimal performance. Here’s how you can conduct a thorough vents inspection:
Steps for Vents Inspection
- Visual Inspection: Start by visually inspecting all the vents in your home. Look for any obvious blockages such as furniture or curtains obstructing the vents. Clear away any objects that may be restricting the airflow.
- Dust and Debris Removal: Dust and debris can accumulate in the vents over time, reducing airflow. Use a vacuum cleaner or a soft brush attachment to gently remove any dust or debris that may be clogging the vents. Make sure to clean both the supply and return vents.
- Inspect Ductwork: Check the ductwork for any visible signs of damage or leaks. Damaged ducts can lead to loss of airflow and poor HVAC system performance. If you notice any cracks or loose connections, it’s important to seal or repair them promptly.
- Air Filter Check: A dirty or clogged air filter can restrict airflow and put strain on your HVAC system. Check the air filter and replace it if necessary. Regularly replacing the air filter is crucial for maintaining good indoor air quality and optimal system performance.
By regularly inspecting and maintaining your vents, you can ensure proper airflow throughout your HVAC system. This will help prevent issues such as uneven heating or cooling, reduced energy efficiency, and potential system malfunctions. If you notice any persistent problems with your HVAC system, it’s recommended to seek professional help for a comprehensive assessment and repairs.
AC Shutdown Steps
When your AC isn’t working properly, it’s important to know how to safely shut it down until the issue is resolved. By following these step-by-step AC shutdown steps, you can prevent further damage and ensure the safety of your HVAC system:
Step 1: Turn Off the Power
To start the AC shutdown process, locate the power switch or circuit breaker that controls your AC unit. Flip the switch or turn off the breaker to cut off the power supply. This step is crucial to protect your equipment and prevent any electrical hazards.
Step 2: Adjust the Thermostat
After turning off the power, set the thermostat to the “off” position. This ensures that the AC unit won’t attempt to turn on while it’s shut down. Adjusting the thermostat also helps conserve energy and prolong the life of your system.
Step 3: Clean and Maintain
While the AC is shut down, take the opportunity to clean and maintain the unit. Remove any debris or leaves from the outdoor unit and clean or replace the air filters. Additionally, check the condensate drain and remove any clogs or blockages. Regular maintenance can help prevent future issues and keep your system running efficiently.
Step 4: Schedule Professional Service
If your AC problems persist even after following the AC shutdown steps, it’s time to call a professional HVAC technician. They have the expertise and equipment to diagnose and repair complex issues that may require specialized knowledge. Schedule an appointment to have your system thoroughly inspected and serviced.
Following these AC shutdown steps can help you protect your HVAC system and mitigate potential damages. However, it’s important to remember that troubleshooting and professional maintenance go hand in hand to ensure optimal performance and longevity.
Wires Inspection
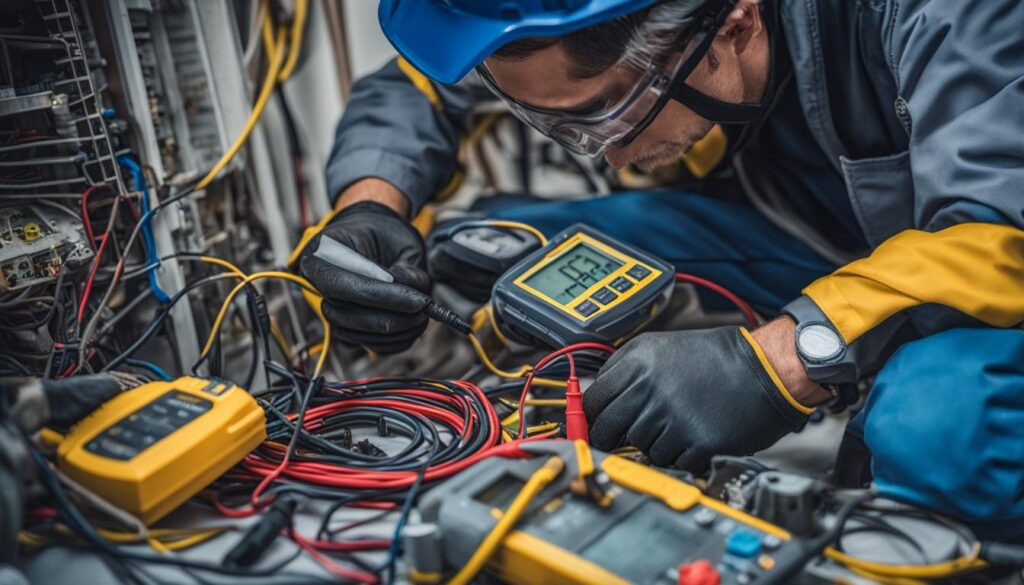
When troubleshooting your HVAC system, one crucial step is to inspect the wires and electrical connections. Faulty or damaged wires can disrupt the flow of electricity and cause issues with your HVAC system’s performance. By conducting a thorough inspection, you can identify any potential faults or damages and take the necessary steps to rectify them.
Before starting the inspection, ensure that your HVAC system is turned off and safely disconnected from any power sources. Carefully examine the wires for any signs of wear, fraying, or loose connections. Pay close attention to the connections at the thermostat, air handler, and outdoor unit.
If you notice any damaged wires or loose connections, it is important to address them promptly. Replace any faulty wires with the appropriate gauge and type recommended for your HVAC system. Ensure that all connections are secure and tightly fastened to eliminate the risk of electrical hazards.
| Signs of Wiring Issues | Possible Causes | Solutions |
|---|---|---|
| Tripped circuit breaker | Overload, short circuit | Identify the cause of the overload or short circuit and resolve the issue. Reset the circuit breaker and monitor your HVAC system. |
| Burnt or melted wires | Overheating, electrical fault | Replace the damaged wires and address the underlying issue that caused the overheating. Ensure proper wire insulation and secure connections. |
| Intermittent power loss | Loose connections, faulty wiring | Tighten all connections and replace any damaged wires. Conduct a comprehensive inspection of the entire wiring system to identify any potential issues. |
Remember, if you are uncomfortable or unsure about inspecting the wires yourself, it is always best to seek the assistance of a qualified HVAC technician. They have the expertise and knowledge to safely handle electrical components and ensure the proper functioning of your HVAC system.
By regularly inspecting your HVAC system’s wires and electrical connections, you can prevent potential issues and maintain the efficiency and reliability of your system. If you notice any persistent problems or suspect significant wiring issues, it is recommended to consult a professional HVAC technician for a thorough assessment and necessary repairs.
When to Call HVAC Experts
While it’s essential to attempt troubleshooting your HVAC system before seeking professional help, there are several instances when it’s best to call in the experts:
- If your troubleshooting efforts have been unsuccessful in resolving the problem
- If you’re unsure about the correct course of action or don’t have the necessary tools or expertise
- If your system requires complex repairs or replacement of major components
- If you suspect that the issue may be related to electrical or gas connections
- If your HVAC system is still under warranty, it’s important to consult with professionals to avoid voiding the warranty
By recognizing these situations and seeking professional help when necessary, you can ensure that your HVAC system is repaired accurately and efficiently, prolonging its lifespan and optimizing its performance.
Facing Heating or Cooling troubles at home and need help fast? Click here.
The Importance of Regular HVAC Maintenance
In addition to calling HVAC experts for repairs, it’s important to prioritize regular maintenance for your HVAC system. Routine maintenance, such as cleaning filters, lubricating moving parts, and inspecting electrical connections, can help prevent issues before they occur. By scheduling regular maintenance with HVAC professionals, you can identify and address minor problems before they escalate into major faults, saving you time, money, and inconvenience in the long run.
| Benefits of Regular HVAC Maintenance | Actions to Take |
|---|---|
| Improved energy efficiency | Ensure proper airflow, clean filters regularly, check and seal ducts |
| Enhanced system performance | Inspect and clean outdoor unit, lubricate moving parts, check refrigerant levels |
| Extended system lifespan | Regularly clean and maintain components, replace worn-out parts |
| Improved indoor air quality | Replace filters regularly, clean vents and ducts, consider air purifiers or humidifiers |
| Reduced risk of major breakdowns | Address minor issues promptly, schedule regular inspections and maintenance |
Conclusion
In conclusion, understanding how to troubleshoot common HVAC issues can save you time and money. By following the steps outlined in this guide, you can address minor problems and potentially resolve them on your own. However, it’s important to know when to call in the experts for more complex repairs.
Remember that HVAC troubleshooting techniques can vary depending on the specific issue you’re facing. Whether it’s a gas-powered HVAC check, resetting your system, or inspecting wires, it’s crucial to follow the appropriate steps to ensure safety and effectiveness.
If you’ve successfully resolved your HVAC problem using the troubleshooting steps provided, congratulations! But if you encounter more complex issues or feel uncertain about any aspect of the repair process, it’s best to seek professional assistance. HVAC experts have the knowledge and experience to diagnose and fix problems efficiently, ensuring your system operates at its optimal performance.
FAQ
What is an HVAC system?
An HVAC system refers to the heating, ventilation, and air conditioning components of your home, including your AC, heat pump, and furnace.
What are the key troubleshooting steps for an HVAC system?
The key troubleshooting steps for an HVAC system include checking the gas supply, resetting the system, ensuring proper furnace door maintenance, troubleshooting the thermostat, replacing dirty filters, inspecting vents for obstructions, safely shutting down the AC, and inspecting the system’s wires.
What should I check if my gas-powered HVAC system isn’t working properly?
If your gas-powered HVAC system isn’t working properly, it’s important to check the gas supply to ensure that the system is receiving the fuel it needs to operate efficiently.
How do I reset my HVAC system?
Resetting your HVAC system is a simple troubleshooting step. Follow the manufacturer’s instructions to safely and effectively reset your system.
Why is furnace door maintenance important for HVAC system operation?
Proper furnace door maintenance is crucial for the proper operation of your HVAC system. Ensure the furnace door is properly closed and secure to avoid any issues.
How do I troubleshoot my thermostat?
Start by checking the power sources and verifying the temperature settings of your thermostat. This can help identify any issues that may be affecting your HVAC system.
Why is regular filter replacement important for my HVAC system?
Regular filter replacement is important for both the performance of your HVAC system and the air quality in your home. Dirty filters can lead to reduced efficiency and poor indoor air quality.
How can I inspect my vents for obstructions?
Inspecting your vents for obstructions involves visually inspecting them and ensuring they are clean and clear. Obstructed vents can impact the airflow in your HVAC system.
How do I safely shut down my AC if it isn’t working properly?
If your AC isn’t working properly, you may need to shut it down temporarily. Follow the manufacturer’s instructions to safely shut down the AC until the issue is resolved.
How can I inspect the wires in my HVAC system?
To inspect the wires in your HVAC system, ensure the power is turned off and visually inspect the wires for any faults or damages. Make sure they are properly connected.
When should I call in HVAC experts for help?
If you have followed all the troubleshooting steps and your HVAC system is still not working properly, it’s time to call in the experts. Complex HVAC issues may require professional expertise.

