As winter approaches, it’s time to bid farewell to your sprinkler system and prepare it for the chilly season ahead. But fear not, dear reader, for we have the key to protecting your precious system from winter’s icy grasp. In this comprehensive guide on how to winterize a sprinkler system with backflow preventer, we’ll unveil the secrets to ensure a snug hibernation for your system, ready to awaken flawlessly when spring blooms once again. So, bundle up and embark on this frosty adventure to safeguard your sprinkler system’s vitality and preserve its longevity for the seasons to come!
To winterize a sprinkler system with a backflow preventer, follow these three essential steps. First, shut off the main water supply to the sprinkler system. Next, locate the drain valves on the backflow preventer and open them to release any water trapped inside. Finally, remove any remaining water from the system by using compressed air to blow out the sprinkler lines. This process ensures that the backflow preventer and the entire sprinkler system are protected from freezing temperatures during winter, preventing costly damage and ensuring a smooth start in the spring.
The Importance of Winterizing Your Sprinkler System with Backflow Preventer
Winterizing your sprinkler system with backflow preventer is an essential step to prevent costly damages and ensure the optimal functioning of your irrigation system. As temperatures drop below freezing, water left in the pipes can freeze and expand, causing pipes to burst, leading to severe damage to your entire irrigation system.
When a backflow prevention device is installed in your sprinkler system, it is designed to prevent harmful contaminants from entering your drinking water supply. If not properly winterized, water left in these devices can freeze and expand, damaging internal components or cracking the housing.
The result can be contamination of the drinking water supply – creating health hazards for you and others who consume it. Moreover, repairing such damages can be expensive.
In addition to the cost of repairing broken pipes or backflow devices, there may also be additional expenses incurred when replacing damaged plants or lawn areas due to water damage. – regular maintenance, like winterization of sprinkler systems, is essential for maintaining the integrity of both plumbing systems and landscape aesthetics.
Potential Damages if Not Properly Winterized
As winter approaches, taking necessary precautions becomes paramount to safeguarding your sprinkler system. Properly winterizing a sprinkler system with a backflow preventer is crucial, as freezing temperatures can lead to irreparable damage caused by the expansion of water into ice within pipes and other components. In this informative guide on how to winterize a sprinkler system with backflow preventer, we’ll explore the potential damages that can occur and share essential steps to ensure your system remains protected and ready to thrive when spring arrives.
1) Damage To Pipes: Water inside unprotected pipes will freeze during cold temperatures; as it freezes into ice, it expands, exerting pressure that leads them towards cracking/bursting open. 2) Damage To Sprinkler Heads: When water remains inside the sprinkler heads, it can freeze and expand, resulting in cracked or broken sprinkler heads.
3) Damage to Valves: Valves in an irrigation system are prone to damage from freezing water. Cracks, leaks, or other malfunctions can result in increased water bills, flooding events, or damage to equipment like pumps and blowers.
4) Damage To Backflow Prevention Devices: These devices are designed to protect your water supply from contaminants that could make you sick. When not properly winterized, they become vulnerable to cracking and breaking.
That means dirty water (fertilizers, pesticides, etc.) could flow back into your drinking water supply – potentially causing long-term health issues.
5) Costly Repairs: Repairing a damaged sprinkler system might require significant expenses. You may need to replace parts such as valves, pipes, or even entire backflow preventer systems if severe damage occurs.
– it’s crucial that you take preventive measures before the cold weather hits hard. It is better for you (and your wallet!) if you prepare your sprinkler system with backflow preventer properly before winter sets in!
Tools and Materials Needed
A List of Necessary Tools and Materials for Winterizing a Sprinkler System with Backflow Preventer
Before starting the process of winterizing your sprinkler system with backflow preventer, it is important to have all the necessary tools and materials ready. This will help ensure that you complete the task efficiently, save time, and prevent any damages that may occur.
Here is a list of essential tools needed for winterizing your sprinkler system:
1. Compressor – The most important tool required for blowing out the pipes is a compressor. A compressor helps to create air pressure that blows out water from pipes.
2. Hose – A long hosepipe is used to connect the compressor to the mainline of the sprinkler system. You should ensure that it fits securely in place without any leaks.
3. Drain Valve – You’ll need a valve that is used to drain water from the pipes after shutting off the water supply. An example of such valves includes an automatic drain valve or a manual drain valve.
4. Wrenches – Different types of wrenches are required when removing certain parts like backflow preventers or drain valves.
5. Bucket or container – You’ll need something to collect water as it comes out from pipes during draining.
6. Eye Protection – Make sure you wear eye protective gear, especially when working around areas where there’s dust or dirt, which can easily irritate your eyes.
RELATED: How To Prime A Sprinkler Pump: Empowering Performance
Explanation of Each Tool and Material’s Purpose
1) Compressor: The compressor creates air pressure strong enough to clear any water in your sprinklers’ irrigation lines, ensuring there’s no remaining moisture left behind, which can freeze and expand, causing cracks in your sprinkler components and leading to costly repairs once Spring arrives
2) Hose: The hose allows compressed air from the compressor into your irrigation system through your blowout valve. A long hose is recommended to reach the farthest lengths of your irrigation system.
3) Drain Valve: Drain valves are generally placed in the lowest part of the sprinkler system and are used for draining water from pipes. If there is any water remaining in your sprinkler system, it can freeze, causing irreparable damage.
4) Wrenches: Different types of wrenches, such as a pipe wrench or adjustable wrench, may be required depending on what you need to remove from your irrigation system. For instance, plumbers’ pliers can come in handy when working with tight spaces like backflow preventers.
5) Bucket or Container: Collecting water from drained pipes is just as important as removing it from the pipes. You don’t want excess water sitting around waiting to freeze over and cause additional damage to your sprinkler.
6) Eye Protection: Keeping your eyes protected while working with compressed air is critical. Small debris may shoot out from various parts of the irrigation components under pressure and injure your eyes if not protected. By ensuring that you have all these tools ready before starting work, the process will be smoother and faster, saving you time while reducing potential damages that might occur during winterization.
Steps to Winterize a Sprinkler System with Backflow Preventer
Shut off Water Supply
Before beginning the winterization process, it is important to locate the main water supply valve and shut off the water supply. The main water valve is usually located near the meter or where the water line enters your home.
Once you have located the main valve, turn the handle clockwise until it stops. This will shut off all water flowing into your property.
It is important to turn off the water supply before proceeding with winterization. If you do not, there will be residual water in your pipes that can freeze and cause serious damage to your plumbing system.
Drain Water from Pipes
Once you have turned off the main valve, proceed by draining all of the remaining water from your pipes. This can be done manually or automatically using a drain valve. To drain manually, begin by opening all of your outdoor faucets and letting them run until they are completely dry.
Next, go inside your home and turn on all fixtures, including sinks, bathtubs, and toilets. Once these fixtures have run dry as well, you can move on to automatic draining.
Automatic draining involves using a drain valve installed at a low point in your plumbing system. To use this method, attach a garden hose to this drain valve and open it up until all of the remaining water has drained out.
Remove Backflow Preventer
Before blowing out pipes with compressed air, it is necessary to remove any backflow preventers installed in line with irrigation systems as they typically trap small amounts of residual water, which can damage them when frozen. To remove a backflow preventer, first, ensure no pressure remains in downstream irrigation piping by opening any test cocks available on the device.
Next, unscrew both union nuts holding the device to the plumbing line while holding the preventer body in place with the other hand. Remove the preventer from the plumbing line and inspect the gasket for damage.
Blow Out Pipes
Blowing out pipes removes any remaining water from your plumbing system, which is crucial to ensure that no water remains to freeze and cause costly damage. To do this, you will need an air compressor with a cubic feet per minute (CFM) rating of at least 100-120. Attach an air hose to the irrigation system’s blow-out port and turn on the compressor.
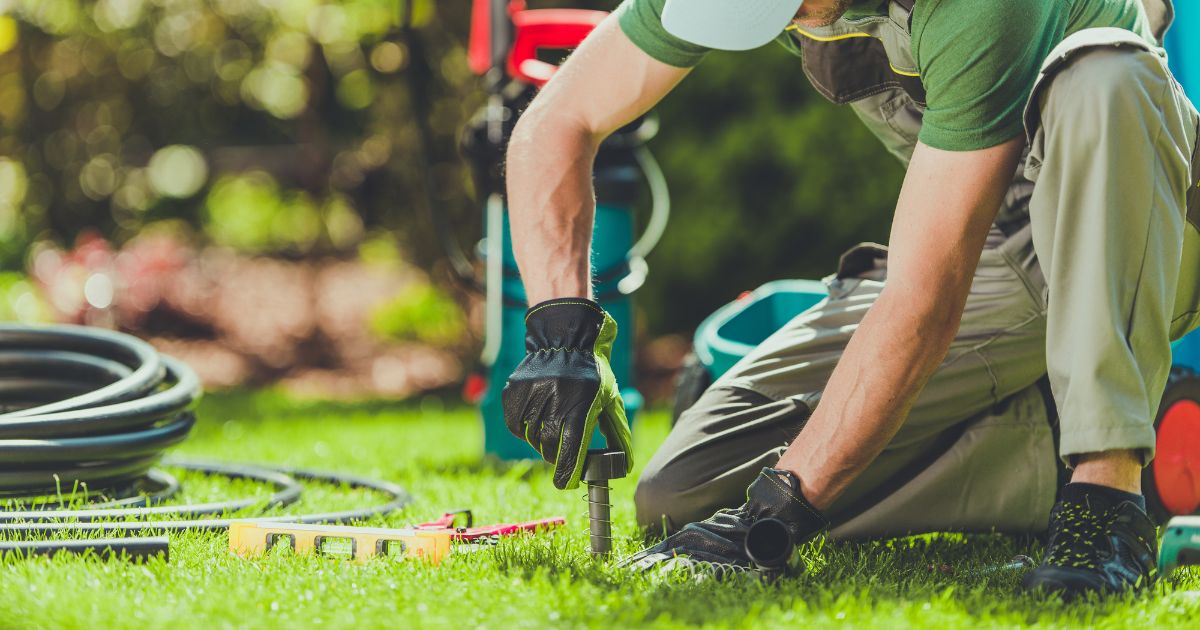
Begin by blowing out the mainline, then proceed to each individual zone making sure all water is removed by opening up one sprinkler head at a time until only air comes out. Pay special attention to areas where pipes may be more vulnerable such as low spots or areas where the pipe is exposed above ground level; these should be blown out multiple times.
Reinstall Backflow Preventer
Once you have completed blowing out all of your pipes using compressed air, it’s time to reinstall a backflow preventer, if required, based on local codes. Follow these steps:
1. Replace the damaged gasket or install a new one if needed.
2. Position the device onto the previously removed plumbing line.
3. Install union nuts finger tight, ensuring that the valve body does not rotate when tightening.
4. Tighten union nuts using two wrenches, one on the nut while holding the valve body in place with the other.
Make sure the device is secured tight enough but do not overtighten, as this can cause damage or leaks within the system.
RELATED: How to Move Sprinkler Heads: Best Guide In 2023
Frequently Asked Questions
How do you winterize a sprinkler backflow?
To winterize a sprinkler backflow, shut off the water supply to the backflow preventer and relieve the pressure by opening the test cocks or bleeder valves. Drain any remaining water from the backflow preventer and protect it from freezing temperatures using insulation or a thermal cover.
How do you winterize a sprinkler system?
To winterize a sprinkler system, shut off the water supply to the system and drain any remaining water from the pipes, valves, and sprinkler heads. Use an air compressor to blow out the remaining water from the system to prevent freezing and damage during the winter months.
How do you drain water from a sprinkler backflow preventer?
To drain water from a sprinkler backflow preventer, close the shut-off valves on the inlet and outlet pipes. Open the test cocks or bleeder valves on the backflow preventer to allow any trapped water to drain out.
What is a backflow preventer used for in a sprinkler system?
A backflow preventer is used in a sprinkler system to protect the potable water supply from contamination. It prevents water from flowing backward into the main water supply, ensuring that the water in the sprinkler system remains separate and free from pollutants or chemicals.
What are three methods for winterizing an irrigation system?
Three common methods for winterizing an irrigation system include blowing out the system with compressed air to remove water, using a manual drain method to drain the water from the system, or using an automatic drain valve system that releases water when the system is turned off.
Do sprinkler systems need to be winterized?
Yes, sprinkler systems need to be winterized to protect them from freezing temperatures. Winterizing prevents water from freezing inside the system, which can cause pipes to burst and damage the sprinkler components.
Conclusion
Winterizing your sprinkler system with backflow preventer is an essential part of protecting your property from costly damages caused by frozen pipes during winter months. By following these detailed steps, anyone can successfully winterize their irrigation system without professional help, saving money in labor costs and ensuring trouble-free operation come springtime.
Taking care of your irrigation system can also extend its life expectancy and keep it working efficiently year after year. Don’t let winter catch you off guard, take the time to winterize your system now and relax knowing that you are one step ahead of mother nature.

