Are you ready to awaken your garden from its winter slumber and bring forth a lush, vibrant landscape? Spring is here, and it’s time to dust off those gardening gloves and dive into the world of sprinkler systems! If you’re wondering how to turn on your sprinkler system and unleash a symphony of dancing water droplets, you’ve come to the right place. We have some fantastic tips and tricks up our sleeve that will have your garden quenching its thirst in no time. So, grab your watering can and prepare to embark on a watery adventure!
To turn on your sprinkler system in the spring, locate the main water supply valve and ensure it is fully open. Then, activate the controller or timer by following the manufacturer’s instructions to program the desired watering schedule. Finally, inspect each sprinkler head for any clogs or damage and make necessary adjustments or replacements to ensure proper water flow. Now you’re all set to enjoy a well-watered and vibrant garden throughout the season!
Brief Overview of the Importance of Turning on Sprinkler Systems in Spring
As the spring season awakens nature’s vibrant colors, it’s crucial to ensure your plants receive adequate hydration to thrive. By knowing how to turn on sprinkler system in spring, you can provide the vital water supply needed for robust growth and vibrant blossoms. With regular watering, you’ll safeguard your plants from stress, disease, wilting, browning, and even potential demise, allowing them to flourish in all their glory.
Importance of Proper Maintenance and Preparation for Optimal Performance
Before turning on your sprinkler system in spring, it’s crucial to perform proper maintenance and preparation tasks. Without this preparation, you may be faced with a variety of issues, such as low water pressure or damaged pipes, that can affect optimal performance throughout the season. One essential task is checking the various components of your sprinkler system for damage or debris buildup.
Inspect each sprinkler head carefully for cracks, breaks, or other signs of wear and tear that may prevent efficient watering. Clogged nozzles should also be cleared out so that they don’t impede proper water flow.
In addition to checking individual components such as sprinkler heads, you should also test valves and pipes for leaks or cracks. Even small leaks can result in significant water loss over time, which can cause yard flooding in some cases.
Detecting these problems early on during spring startup maintenance checks will save you money through reduced water use during the summer months. Another item on your checklist should be testing water pressure and flow rate.
This test helps determine whether there is adequate pressure within your irrigation system to effectively deliver water across all zones. Low pressure may be the result of blockages, leaks, or other issues that require repair.
By taking the time to prepare and maintain your sprinkler system in spring, you can ensure optimal performance throughout the warmer months. In turn, this can lead to a healthier and more beautiful lawn and garden.
Checking the System
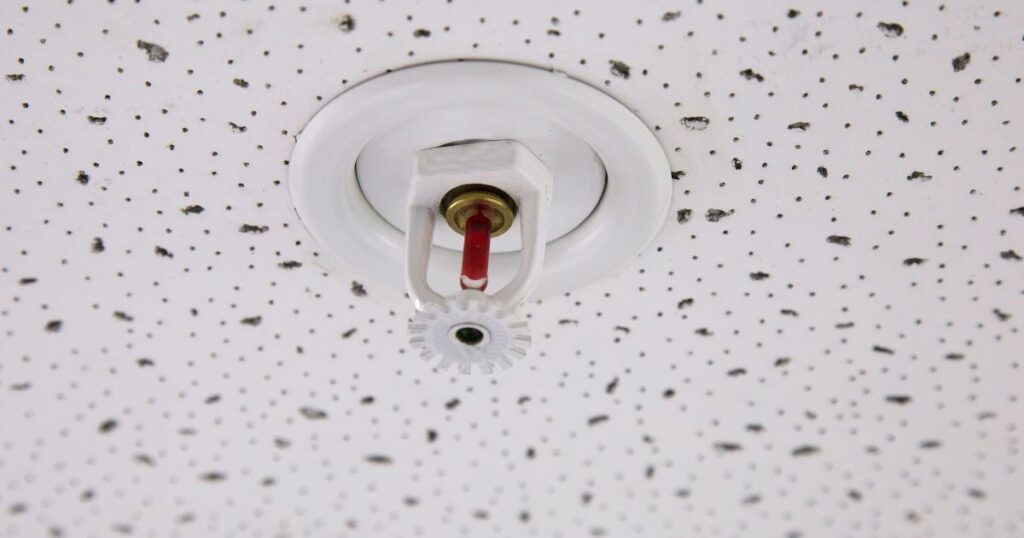
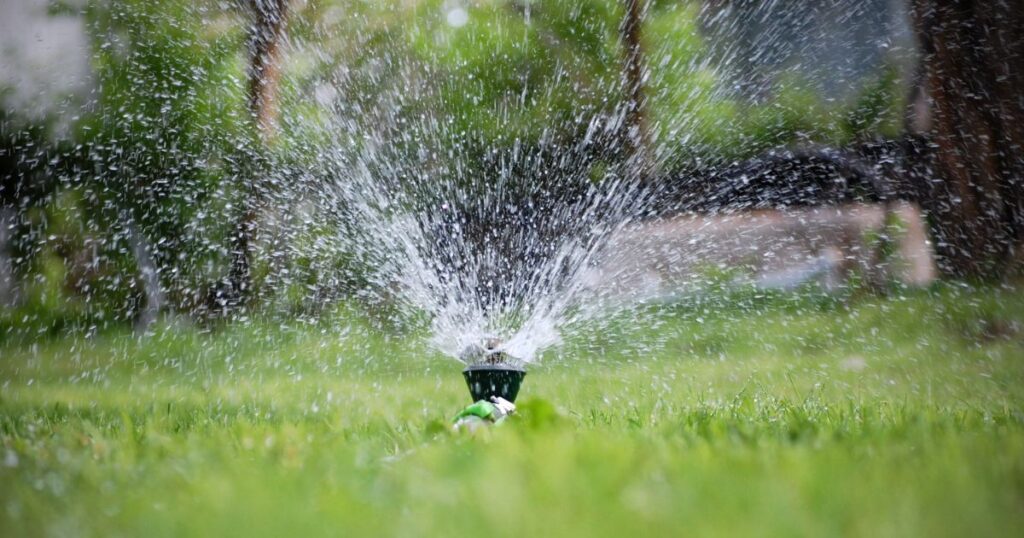
Inspecting sprinkler heads for damage or debris buildup
The first step in turning on your sprinkler system is to carefully inspect each of your sprinkler heads. Inspect each head to see if there is any visible damage, such as cracks or chips in the plastic housing.
Damaged sprinkler heads can lead to uneven watering and potentially wastewater by overwatering certain areas. Additionally, it’s important to check for debris buildup around the heads.
Grass clippings, leaves, and other yard debris can easily get stuck in the spray nozzle and prevent proper water flow or change the spray pattern. Carefully remove any debris with a small tool like a screwdriver or toothbrush.
Checking valves and pipes for leaks or cracks
Next, check all valves and pipes that connect your irrigation system to your home’s water supply for leaks or cracks. Look for visible signs of dripping water, soggy ground, or pools of standing water near valve boxes.
If you find a leaky valve or pipe, turn off the water supply immediately before attempting any repairs. Most valve boxes have shut-off valves built-in, so you won’t have to turn off all of your home’s water supply.
Testing Water Pressure and Flow Rate
To ensure that your system is functioning at optimal efficiency, it’s important to test your water pressure and flow rate after turning on your irrigation system. Testing will help you determine if there are issues with clogged pipes or valves that could impact the amount of water being delivered to certain zones. You can quickly test this with a low-cost pressure gauge from a local hardware store.
Simply attach it to an outdoor spigot (such as one used with a garden hose), then run each zone one at a time while recording pressure readings for each zone. Another way is through timing.
Turn on each zone for 15 minutes, then measure the amount of water that has accumulated in your empty tuna fish can or a container of similar size. If your lawn is getting less than an inch of water per week, you should adjust your system accordingly.

Turning on the Water Supply
Locating the Main Water Valve
Before turning on your sprinkler system, it is important to locate the main water valve. This can typically be found near your home’s water meter or where the water supply enters your property.
It may be buried underground or located in a small box, so it’s important to know where to look. Once you have located the valve, ensure that it is fully closed before proceeding.
Gradually Opening the Valve to Avoid Sudden Pressure Surges
When turning on your sprinkler system for the first time in spring, it’s important to avoid sudden pressure surges that could cause damage or leaks in pipes and valves. To do this, gradually open the main water valve rather than opening it all at once. Start by opening the valve a quarter of the way and then wait for a few seconds before opening it up another quarter.
Repeat this process until the valve is fully open. If you notice any strange noises or vibrations during this process, stop immediately and check your system for damage before proceeding.
Allowing Water to Run Through The System Before Turning on Sprinklers
Before turning on your sprinklers, allow water to run through your system for a few minutes to flush out any debris that may have accumulated over winter. This will help ensure that your sprinkler heads operate at their maximum capacity and prevent clogging later on. To do this, simply turn on one of your outdoor faucets connected to your irrigation system and let it run for a few minutes until clear water flows out.
Then turn off this faucet and move on to testing each zone of your irrigation system independently. By taking these steps when turning on your sprinkler system in spring, you can ensure optimal performance all season long while avoiding damage or costly repairs down the line.
Programming and Adjusting Sprinkler Settings
Once you have checked and turned on your sprinkler system, it is time to program and adjust the settings to ensure that your lawn receives the right amount of water. The following are some tips for programming your irrigation system.
Setting Watering Schedules Based on Plant Needs
Different plants require different amounts of water depending on their species, age, and stage of growth. Some plants may need daily watering, while others require watering only once a week. Study the watering requirements of each plant in your lawn and set up a watering schedule based on their needs.
Consider the weather when setting up your watering schedule. During cooler months, when there is less evaporation, you may need to reduce the frequency of watering.
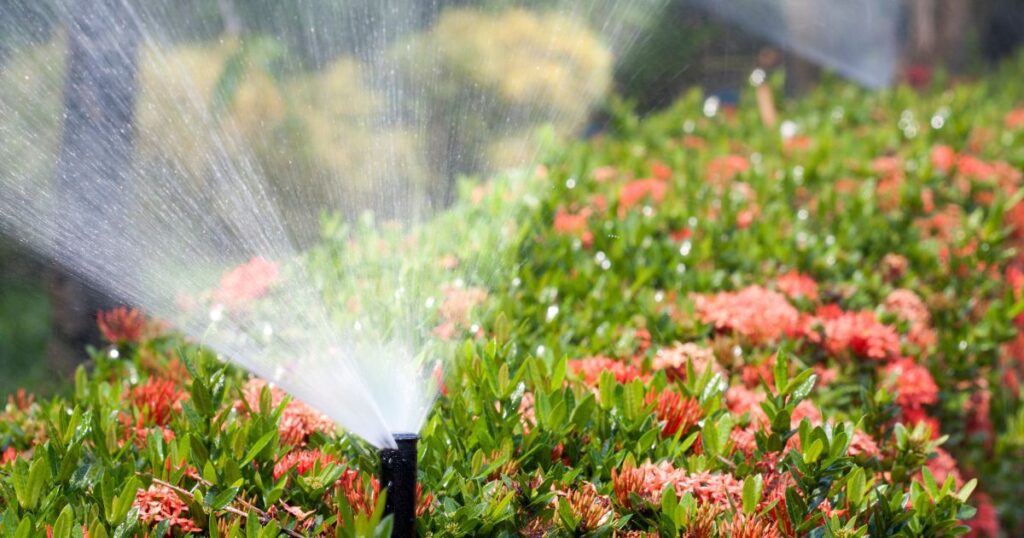
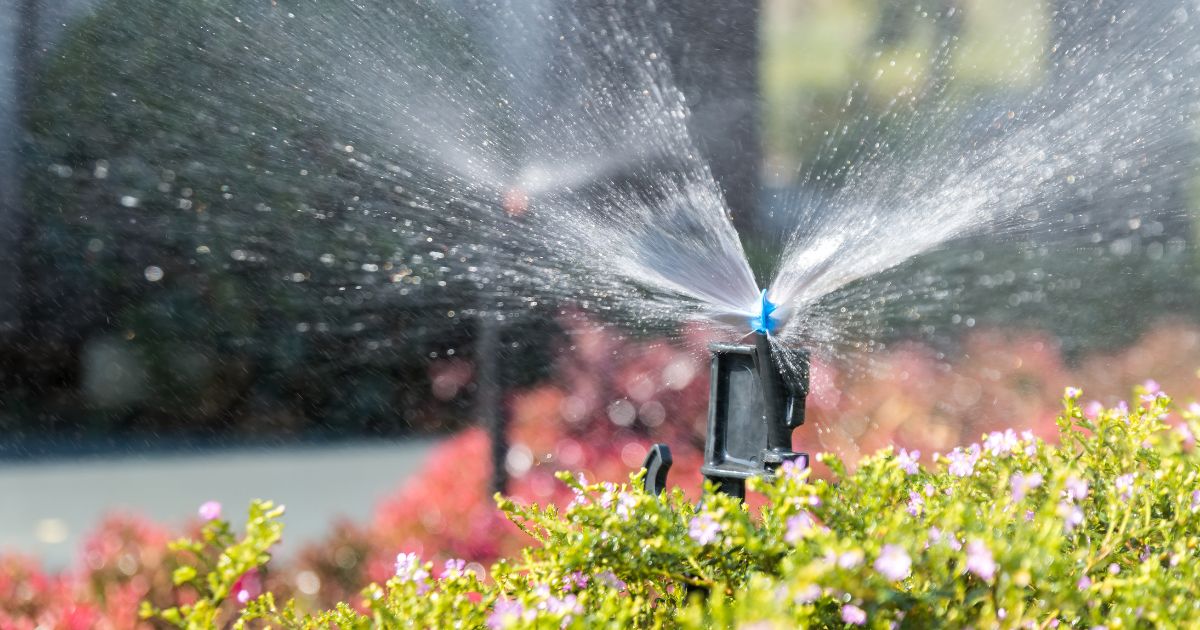
Adjusting Spray Patterns and Coverage Areas
The angle, direction, speed, and distance of water spray from sprinklers can be adjusted depending on plant spacing, soil type, slope, or terrain features. You must adjust spray patterns to avoid overwatering or dry spots.
For instance, if you have dense foliage under a tree or along a fence line with restricted sunlight penetration and air circulation, then low-angle sprinklers will be ideal as they produce larger droplets that don’t drift away before reaching the ground. Also, consider adjusting coverage areas by reducing the radius of each sprinkler head if certain areas are getting too much water while other areas remain dry.
RELATED: How To Adjust Oscillating Sprinkler: The Mastery Of Watering
The Role of Smart Controllers in Efficient Irrigation System Management
Smart controllers can help improve water efficiency by using sensors that collect weather data (temperature and humidity) alongside input from soil moisture sensors to determine whether irrigation is needed or not. If rain is forecasted in 24 hours, for example, smart controllers will delay watering until it’s necessary again, which means no more wasted water due to poor timing. Additionally, smart controllers (such as Rachio) provide a mobile app that allows remote management of your sprinkler system, giving you access to advanced programming options and system diagnostics from anywhere.
Using Mulch to Conserve Water and Reduce Irrigation Needs
Mulching your lawn around plants and trees can help reduce water loss due to evaporation by retaining moisture in the soil, which then reduces irrigation needs. Mulching also provides many benefits beyond water conservation. As organic matter decomposes, it adds valuable nutrients to the soil which stimulates healthy plant growth and improves soil structure.
Water Conservation Tips for an Environmentally Friendly Lawn
Conserving water is not only good for your wallet, but it is also good for the environment. Here are some tips that will help you conserve water while maintaining a healthy lawn:
- Use a rain barrel to collect rainwater for later use
- Reduce watering during rainy seasons
- Implement a drip irrigation system instead of sprinklers in certain areas
- Use drought-resistant plants that require less water
- Fix any leaks in your irrigation system promptly
By following these guidelines, you can ensure that your lawn stays healthy while conserving one of our most precious resources – water.

Troubleshooting Common Issues
Even with proper maintenance and preparation, sprinkler systems may encounter problems during the season. Fortunately, many common issues can be identified and resolved with a few simple steps.
Identifying Common Problems
Clogged nozzles are a frequent issue with sprinkler systems, especially in areas with hard water or high sediment levels. Symptoms of clogged nozzles may include weak or uneven water flow or water spraying in unintended directions. To diagnose this issue, inspect each nozzle for signs of blockage, such as mineral buildup or debris accumulation.
If clogging is detected, remove the nozzle and clear it using a small tool such as a toothpick or wire brush. Broken heads are another potential problem that can lead to wasted water and poor coverage.
Signs of broken heads may include water pooling around the base of the head, uneven spray patterns, or missing parts such as nozzles or adjustment screws. To fix this issue, replace the damaged head with a compatible replacement that matches the manufacturer and model number of your system.
Faulty valves are another potential source of trouble for irrigation systems. Symptoms of valve issues may include low pressure, inconsistent watering schedules, or zones that fail to activate.
To diagnose this issue, check each valve for signs of damage, such as cracks or leaks. If damage is detected, replace the valve by shutting off the main water supply to the system first before unscrewing it from its housing.
Steps to Repairing Damaged Components
If you suspect an issue is due to more severe damage, such as cracked pipes or malfunctioning control panels, there are some steps you can take: The best course of action if you think there might be any major problem is to call an irrigation professional who has experience dealing with these issues. That said, if you feel confident in your abilities, first isolate the affected zone of your irrigation system by shutting off the valve and draining any remaining water.
Then, dig around the damaged component to expose it fully. If a broken pipe is detected, cut out the damaged section using a PVC cutter or hacksaw and replace it with a new section of pipe that matches the diameter and material of your existing system.
If you suspect an issue with your control panels or wiring, shut off power to the system before attempting any repairs. Check for loose or corroded connections and replace parts as needed.
It’s important to follow manufacturer guidelines when replacing any parts and components. Remember that if at any point you feel uncomfortable or unsure about diagnosing or repairing an issue with your sprinkler system, it is best to consult with an experienced professional rather than risk further damage, which could be dangerous and expensive in the long run.
RELATED: How To Dewinterize Sprinkler System: 2023 Guide
Frequently Asked Questions
How do I turn on my sprinklers in the spring?
To turn on your sprinklers in the spring, locate the main shut-off valve for your sprinkler system and ensure it is fully open. Then, switch on the controller or timer that controls the sprinkler system to activate the sprinklers.
When should I turn my sprinkler system on in the spring?
It is recommended to turn on your sprinkler system in the spring when the weather conditions and soil moisture indicate that your lawn or plants require irrigation. This timing may vary based on your specific location and climate.
How do you activate sprinklers?
Sprinklers are typically activated by turning on the main water supply to the sprinkler system and activating the controller or timer that controls the sprinkler zones. The controller sends signals to the valves, allowing water to flow through the sprinkler heads and activate them.
How do I manually turn on my sprinkler system?
To manually turn on your sprinkler system, locate the manual activation lever or switch on your controller or timer and activate it. This will send a signal to the sprinkler valves to open and allow water to flow through the sprinkler heads.
How do you turn on a sprinkler valve?
Sprinkler valves can be turned on by locating the valve box and removing the lid. Inside the valve box, there will be individual valve solenoids or handles. Turn the solenoid counterclockwise or lift the handle to the open position to turn on the sprinkler valve.
Do sprinklers automatically turn on?
Yes, sprinklers can be set to automatically turn on based on a programmed schedule using a controller or timer. The controller sends signals to the sprinkler valves at the scheduled times, activating the sprinklers without the need for manual intervention.
Conclusion
A Recap of Key Points in Turning on a Sprinkler System in Spring
As we have seen, turning on your sprinkler system after a long winter break requires some preparation and careful steps to ensure optimal performance. First, inspect your system for any damages or leaks before turning on the water supply. Gradually open the main water valve to avoid sudden pressure surges that could damage the pipes or sprinkler heads.
Allow water to run through the system before activating the sprinklers to flush out any debris or air pockets. Once you turn on your sprinklers, adjust their settings based on plant needs and weather conditions.
Set watering schedules according to local guidelines and adjust spray patterns and coverage areas as needed to avoid overwatering or dry spots. Troubleshoot common issues such as clogged nozzles, broken heads, or faulty valves promptly to prevent further problems.
Final Thoughts on Maintaining a Healthy Lawn with a Properly Functioning Irrigation System
By following these steps, you can ensure that your lawn receives adequate hydration without wasting water or damaging your property. A well-maintained irrigation system not only saves you time and money but also helps conserve natural resources by preventing overuse of water. Additionally, healthy lawns contribute to cleaner air by filtering out pollutants and producing oxygen.
Remember that maintaining a healthy lawn requires more than just watering it regularly; you also need to mow it regularly at appropriate heights and fertilize it appropriately based on soil analysis results. Taking care of your lawn not only benefits you but also contributes positively to your community’s environment.
Turning on your sprinkler system in spring is an essential step toward maintaining a healthy lawn throughout the year. By following these simple steps for proper preparation, inspection, activation, adjustment, and troubleshooting of your irrigation system, you can keep your property hydrated and vibrant while contributing to a cleaner, greener environment.