An Unsightly Mess: The Consequences of Neglecting Drywall Paper Damage
Ah, drywall—the ubiquitous building material that blankets countless homes and buildings across the country. While it may seem sturdy, drywall is far from infallible.
Whether it’s due to a rowdy party gone wrong or a rogue piece of furniture, damage to drywall paper can quickly turn into an unsightly mess if left unchecked. But what’s the big deal with leaving damaged drywall paper as is?
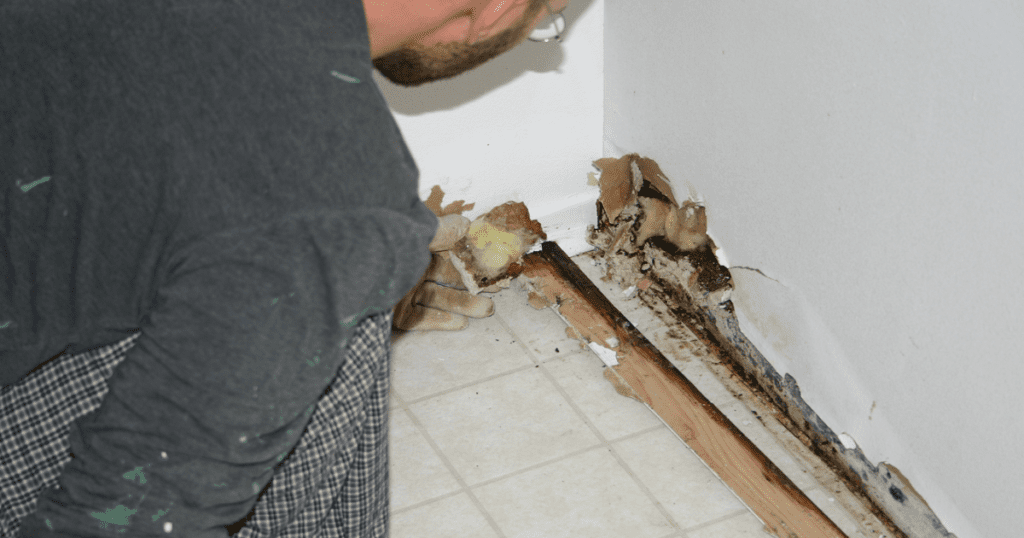
Well, for starters, it’s a potential safety hazard. Not only does damaged drywall paper weakens the structural integrity of your home or building, but it also creates an environment conducive to mold growth and other health hazards.
That’s why patching up damaged sections of drywall paper is crucial for maintaining not only the appearance of your space but also its overall safety. In this DIY guide to repairing drywall paper, we’ll explore the steps necessary for restoring your walls to their former glory in no time.
A Comprehensive Guide: Steps to Restore Damaged Drywall Paper
Before we get started on how to repair drywall paper, let’s first discuss what types of damage we’re addressing. From small scratches and tears to larger bubbles and gashes, there are several different types of damage that may require different approaches for repair.
In this guide, we’ll cover all aspects of fixing torn or damaged drywall surfaces—from preparing the area before getting started all the way through finishing touches like painting over repaired areas. So whether you’re an experienced DIYer or someone new to home improvement projects, this comprehensive guide to repairing damaged drywall paper has got you covered.
Understanding Drywall Paper Damage
Common Causes of Drywall Paper Damage
If you’re reading this article, chances are that you’ve experienced some kind of drywall paper damage and are looking for solutions. The truth is drywall paper damage can happen for a variety of reasons.
Maybe your kids accidentally threw a ball at the wall, or there was a leak in your home that caused water damage. Whatever the case may be, it’s important to understand the root cause so that you can prevent it from happening again.
Water damage is one of the most common causes of drywall paper damage. This can occur if there’s a leak in your home that goes unnoticed for some time.
When water infiltrates drywall paper, it can cause bubbles to form or even lead to tears and scratches. Impact damage is also common and occurs when an object hits the wall with force, creating dents or holes.
Identifying Different Types of Damage
Now that you understand what can cause drywall paper damage, it’s important to know how to identify different types of damage so that you’ll know how best to fix it. One type of damage you may encounter is bubbles on the surface of your drywall.
These bubbles usually occur as a result of previous water infiltration and appear as raised areas on the surface. Tears and scratches are another types of drywall paper damage.
A tear occurs when there’s a rip in the actual paper layer on top of your drywall board, while scratches happen when something scratches off part or all layers on top surface paint coating, leaving the underlying layer exposed. There are dents or holes which occur due to impact from physical objects, such as furniture hitting walls too hard or people falling against walls with too much force, which happen more often than we would like to admit.
By understanding what causes different types of damage and how to identify them, you’ll be better equipped to tackle drywall paper repairs. Remember, it’s important to act quickly once you notice damage in order to prevent it from getting worse and leading to more extensive restoration work or home renovation and drywall repair in the future.
Preparing for Repair
Tools and Materials Needed for DIY Drywall Paper Repair
Before beginning any DIY home improvement or restoration project, it’s essential to have the right tools and materials on hand. The same goes for fixing torn drywall paper, which requires a few specific instruments that can make all the difference in the repair process.
First and foremost, you’ll need sandpaper. Whether it’s a small tear or a large bubble in your drywall surface, using sandpaper to smooth out the damaged area is crucial.
The number on the sandpaper indicates its coarseness; smaller numbers (between 60-100 grit) are used for rough sanding, while larger numbers (between 120-150 grit) are used for fine sanding. Next up is joint compound – a key ingredient in restoring torn drywall paper.
This substance dries hard and is perfect for filling gaps between drywall surfaces that require repair. A putty knife will also come in handy when applying joint compound; just be sure to choose one that’s comfortable to hold and easy to control.
Tips on How to Prepare Your Drywall Surface For Repair
Now that you have all the necessary tools and materials needed to fix your damaged drywall paper surface, let’s get started! But before we do anything else, there are a few important steps you must take first when patching or repairing damaged drywall paper.
The first step is cleaning. Make sure that the area surrounding the damaged section is free of debris like dust or dirt.
Next, use a damp sponge or cloth to wipe down any remaining residue from previous repairs so as not to interfere with new ones. Secondly, it’s important, both if fixing small tears or bubbles as well as repairing larger areas with new pieces of drywall paper, to use an even-surfaced wall patch over which restores regularity with joint compound.
The patch should be large enough to cover the damaged section, and it’s always a good idea to secure it with tape for added stability. Consider sanding down the surrounding areas of the damaged drywall paper surface.
Sanding will help create a more even surface for the new compound or new drywall paper to adhere to effectively, resulting in a smoother and better-looking finish. Following these simple steps before beginning any repair project can make all the difference in your final result.
Taking the time to prepare your drywall surface correctly will ensure that you not only fix your damaged drywall paper but also restore it back to like-new condition. Remember – preparation is key!
Repairing Small Tears and Scratches
How to Repair Small Tears and Scratches in Drywall Paper
When it comes to DIY drywall paper repair, fixing small tears and scratches can be relatively easy. However, it’s important not to overlook these issues as they can lead to bigger problems if left unresolved. One of the most common ways of tackling small tears is by using a joint compound.
This versatile material is great for filling in gaps and holes as well as for smoothing over minor imperfections on the surface of your drywall. To start the patching process, you’ll want to begin by sanding down any rough edges around the tear or scratch.
Once this is done, apply a thin layer of joint compound over the damaged area with a putty knife or a trowel. It’s best to apply several coats, allowing each layer to dry fully before applying another one.
Techniques such as Using a Putty Knife or Joint Compound
When it comes down to home renovation and drywall repair, using a putty knife or joint compound is an essential part of fixing torn drywall paper. Putty knives come in various sizes and shapes that can help you work on different parts of your wall effectively. They’re especially useful when applying joint compound over small tears or scratches that need extra attention.
Similarly, joint compound is also highly recommended when repairing damaged drywall paper. It’s important to note that there are different types of joint compounds available on the market today, each with its own unique properties and uses based on your needs.
However, for repairing small tears and scratches in drywall paper, a general-purpose joint compound should suffice. Ultimately, following these steps will help you master DIY home improvement skills while keeping costs low at the same time.
Repairing Large Tears and Bubbles
When Cutting is Caring: Knowing When to Cut Out Damaged Drywall Paper
You might be tempted to patch over a large tear or bubble in your drywall paper, but sometimes cutting out the damaged area is necessary. While it might seem like more work initially, cutting out the damaged area ensures that the new patch will have a solid foundation to adhere to.
Plus, patching over damaged drywall paper can cause bumps and uneven surfaces that are difficult to fix. To cut out the damaged area, use a utility knife to score around the edges of the tear or bubble.
Then, use a drywall saw or rotary tool with a drywall bit to cut along the scored line until you’ve removed all of the damaged paper. Be sure to cut straight lines so that your new piece of drywall paper will fit snugly into place.
Applying New Drywall Paper: It’s All in The Technique
Once you’ve removed all of the damaged drywall paper, it’s time to apply your new piece. Cut a piece of drywall paper that’s slightly larger than the hole you’re patching and fit it into place.
Use joint compound and a putty knife to smooth out any bumps or ridges around the edges of your new patch. Applying joint compound takes some skill and patience – don’t be discouraged if it takes several coats to get things looking smooth!
Spread on thin layers with light pressure using a wide putty knife for best results. Let each layer dry fully before sanding it down and applying another coat.
The Cost of Repairing Drywall Paper: Is It Worth It?
Some folks may think DIY repairs aren’t worth it when you can simply hire professionals at an additional cost. However, repairing torn and damaged surfaces on your drywall can be a surprisingly simple and affordable DIY project. With the right tools and a solid guide to repairing drywall paper, you can easily restore damaged areas to their former glory.
So before you call in the professionals, consider giving it a try yourself. Not only will you save money on repair costs, but you’ll also gain valuable knowledge that can be used in future home renovation projects.
Finishing Touches
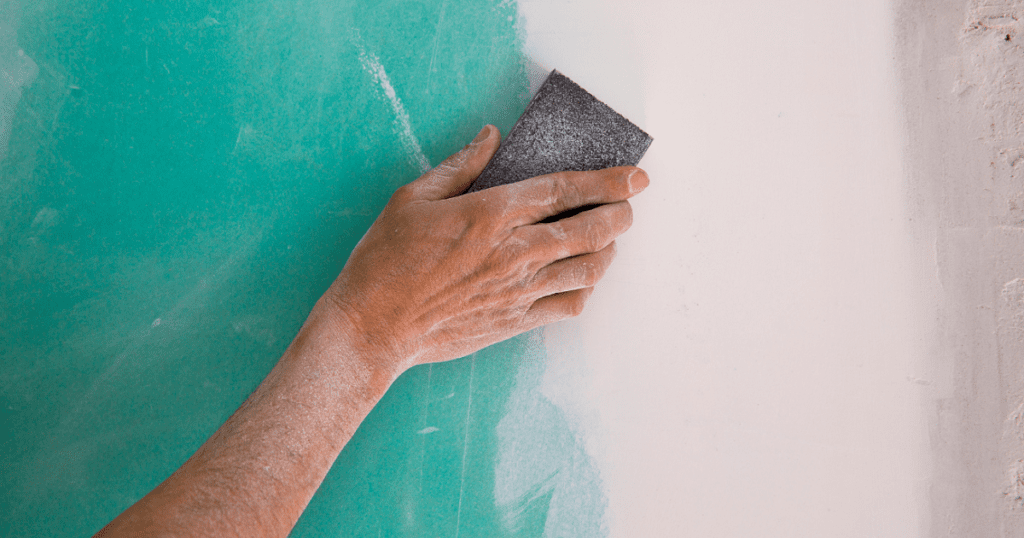
Smooth as a Baby’s Bottom: Sanding Down Rough Edges
Now that you’ve successfully repaired the damaged drywall paper, it’s time to move on to the finishing touches. While it may be tempting to skip this step, trust me when I say that sanding down rough edges is crucial for achieving a smooth and seamless finish.
Neglecting this step can leave behind unsightly bumps and ridges that will be highlighted when painted over. To sand down rough edges, start by using a coarse-grit sandpaper to remove any excess joint compound or unevenness.
Gradually work your way up to finer grit sandpaper until the surface is completely smooth. Be sure to clean up any dust or debris left behind before moving on to painting.
A Skim Coat: The Secret Weapon of DIY Drywall Repair
While repairing small tears and scratches can be relatively easy with joint compound and a putty knife, larger damage may require more effort and expertise. One of the best ways to fix more significant damage is by applying a skim coat.
A skim coat involves applying thin layers of joint compound over the entire surface area of the repaired drywall paper until it is perfectly smooth and even with surrounding areas. This technique not only helps disguise patch jobs but also ensures consistency in texture throughout the wall.
For best results, use a wide trowel or putty knife to spread thin layers of joint compound evenly over the surface area in long strokes. Allow each layer to dry completely before adding another layer on top until the desired level of smoothness has been achieved.
Painting Over Repaired Areas: A Seamless Finish
The final step in repairing damaged drywall paper is painting over it. However, unlike other surfaces where paint can be applied directly after patching, freshly patched drywall paper requires additional preparation before painting.
Firstly, make sure the surface has been adequately cleaned and sanded down smoothly before painting. This ensures that the paint adheres evenly to the surface.
Secondly, apply a primer to the repaired area before painting to help seal in any remaining joint compound and create an even base for paint. When it comes to selecting paint for your newly repaired drywall paper, choose a high-quality product that will match the existing color and texture of your walls.
Remember, a poorly executed patch job can significantly lower your home’s value and cost you more in repairs in the long run. So take your time and do it right!
Frequently Asked Questions
What can I use to repair drywall paper?
To repair damaged drywall paper, you can use a product called drywall sealer or primer, which creates a layer between the drywall paper and your finishing layer to prevent further peeling or bubbling. After applying the sealer, let it dry before applying joint compound, sanding smooth, and painting.
How do you fix peeling drywall paper?
If drywall paper is peeling, first carefully remove loose paper and sand the edges smoothly, then apply a high-quality drywall primer or sealer to create a new surface. Once the primer is dry, apply joint compound over the area, sand it smooth once dry, and then you can paint over it.
How do you repair drywall strips?
To repair drywall strips, first remove any damaged material and clean the area. Next, apply new strips of drywall tape over the seams, and then coat the tape with joint compound, smoothing with a trowel, letting it dry, and sanding smooth for a seamless repair.
How do you fix drywall sheets?
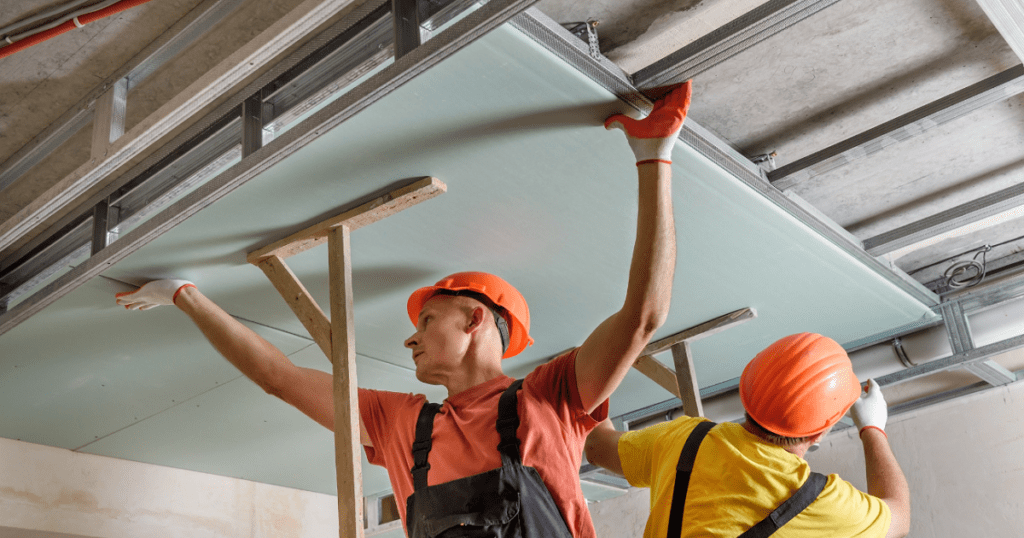
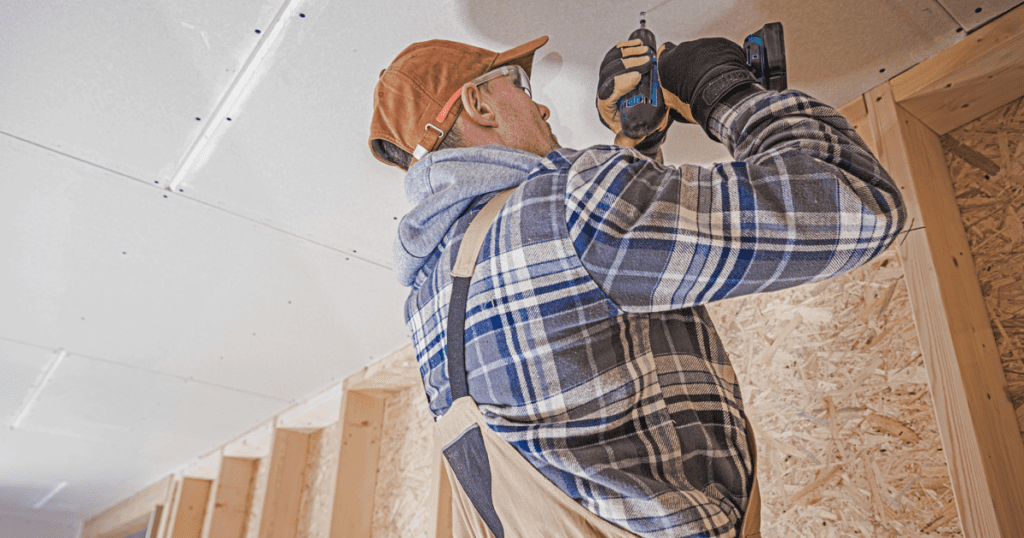
To fix drywall sheets, you typically would cut out the damaged area, measure and cut a new piece of drywall sheet to fit, and then secure the new piece using screws. After that, apply joint compound to the seams, add drywall tape, smooth out the compound, let it dry, and then sand smooth.
Can you repair torn drywall paper?
You can repair torn drywall paper by carefully removing the loose paper, applying a drywall primer or sealer over the area, and then applying joint compound once the sealer dries. After the compound dries, sand it smoothly before applying any paint or finish.
What is the best glue for drywall repair?
For adhering to drywall itself or to fix minor cracks or holes, a joint compound or “mud” is typically the best “glue.” However, if you’re adhering to paper drywall tape or patches, a product like Gardz Problem Surface Sealer can act as a great adhesive, as it also seals the surface to prevent bubbling or peeling.
Conclusion
Key Points Discussed in the Guide
In this guide to repairing drywall paper, we have covered essential aspects of restoring a damaged drywall surface. We discussed the common causes of drywall paper damage, how to identify different types of damage, the necessary tools and materials required for patching drywall paper, and detailed steps on how to repair small tears and scratches as well as larger tears and bubbles. Additionally, we talked about finishing touches, such as sanding down rough edges or applying a skim coat, and tips on painting over repaired areas.
Final Thoughts on the Importance of Properly Repairing Drywall Paper
We cannot emphasize enough the importance of properly repairing damaged drywall paper. It not only restores the aesthetic appeal of your home but also prevents further damage that may lead to more significant repairs or replacements. Home renovation tips often recommend that you fix any issues with your walls before moving on to other parts of your home renovation and drywall repair project.
Ignoring damaged drywall can lead to serious structural issues that will be costly to repair in the long run. Moisture buildup behind walls can cause mold growth which is a health hazard for you and your family.
Poorly done repairs can also be an issue when it comes time to sell your home because potential buyers may see it as a sign of neglect. A guide to repairing drywall paper should help you understand how important it is to take care of even small tears and scratches on your wall’s surface promptly.
Taking care of minor damages now can help extend the life expectancy or lifespan while keeping maintenance costs low. So if you’ve noticed any damage or want to improve your home’s appearance, use these steps to restore damaged drywall paper today!


