The Lamentable Lifting of Laminate Flooring
Laminate flooring is a type of flooring that has gained immense popularity among homeowners due to its durability, versatility, and affordability. It’s made by fusing several layers of synthetic materials together, topped with a photographic layer that mimics the look of real wood or stone.
It’s no surprise that laminate floors have become the go-to choice for many homeowners looking for an easy-to-maintain yet aesthetically pleasing surface. However, despite its many benefits, laminate flooring is not without its flaws.
One common issue that homeowners face with this type of flooring is lifting. This occurs when the planks start to separate from each other or lift off the subflooring altogether, leaving unsightly gaps and uneven surfaces.
The causes of lifting are numerous and can range from water damage to improper installation techniques. But regardless of what caused it in your case, the bottom line is this: lifting laminate flooring is not only unsightly but can also be dangerous if left unchecked. How to fix laminate flooring that is lifting?
That’s why in this article, I will provide you with a step-by-step guide on how to fix your laminate floor properly. So let’s get started!
The Purpose Of This Rant
Before we dive into the nitty-gritty details of fixing your lifted laminate floorboards, allow me to clarify something: this is not going to be one of those sugar-coated articles that tell you everything will be okay if you just follow a few simple steps. Nope – fixing lifted laminate floors requires patience, diligence, and some serious elbow grease.
But don’t worry; I’m not here to discourage you from taking on this challenge. In fact, my goal is quite the opposite: I want to empower you by giving you all the information and tools you need to tackle this problem head-on with confidence.
So buckle up and get ready for some real talk about laminate flooring lifting. Together, we can make your floors look as good as new!
RELATED: How to Remove Scratches from Vinyl Flooring?
The Culprit: Identifying the Cause of Lifting
It’s frustrating to have a laminate flooring lift, and it’s even more frustrating not to know why this has happened. However, before you can fix the issue, you must identify the root cause of your floor’s lifting woes. There are several reasons why laminate flooring could be lifted in your home, and we’re here to guide you through them.
Water Damage: The Sneaky Culprit
Undoubtedly, water is the number one enemy of laminate flooring. When water seeps into the subfloor, it can cause swelling and expansion that lifts up planks. Unfortunately, this damage may not be immediately apparent – flooding or a plumbing mishap is unlikely in many homes – and instead arises from gradual accumulation due to things like spilled drinks or moisture tracked in from rain or snow on shoes.
While some laminate floors come with a moisture barrier pre-installed underneath them during installation to reduce this risk, not all do. If your floors were installed without a moisture barrier and there is water damage present, repairing your floor will require patience as well as a keen eye for detail.
Improper Installation: A Common Misstep
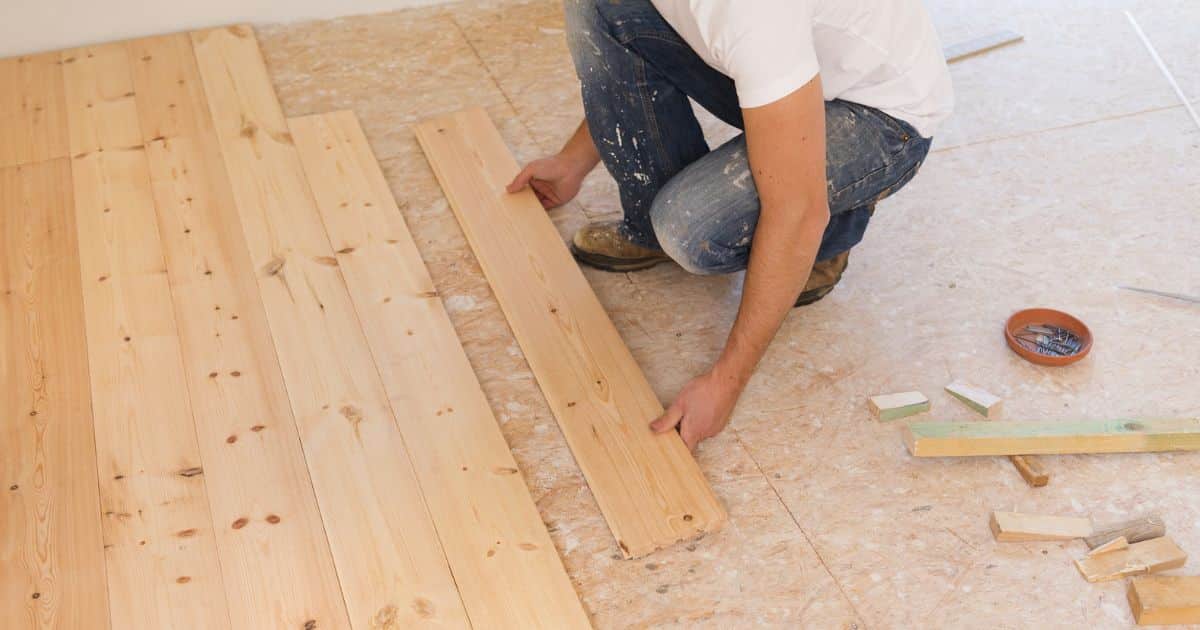
Laminate flooring requires precision installation techniques; if shortcuts are taken during installation (or worse yet, inexperienced DIY-ers tried their hand at installing), planks can start lifting at any time due to pressure from foot traffic or temperature changes. Improperly laying down underlayment or subflooring can also cause issues by creating an uneven surface for your laminate planks. If you suspect that improper installation is behind the lifting on your floors, you’ll want to carefully examine them yourself before enlisting professional help – sometimes hiring professionals will only cost more in fixing mistakes made by amateurs.
Heavy Foot Traffic: The Unfortunate Reality
The durability of laminate flooring makes it an attractive choice for high-traffic areas in homes or offices. However, even the most resilient floors have a breaking point, and heavy traffic can cause pressure on the joints of your laminate planks that can eventually lead to lifting.
If you have high foot traffic areas, this may be a valid reason why your floors are lifting. Thankfully, fixing these types of issues can be simple by investing in mats or runners to spread out foot impact on the floor’s surface.
Whatever the cause may be, identifying it with certainty is key to fixing the issue. In the next step, we will discuss gathering the necessary tools and materials for fixing laminate flooring that is lifting.
Gather the Necessary Tools and Materials
The Essential Tools and Materials:
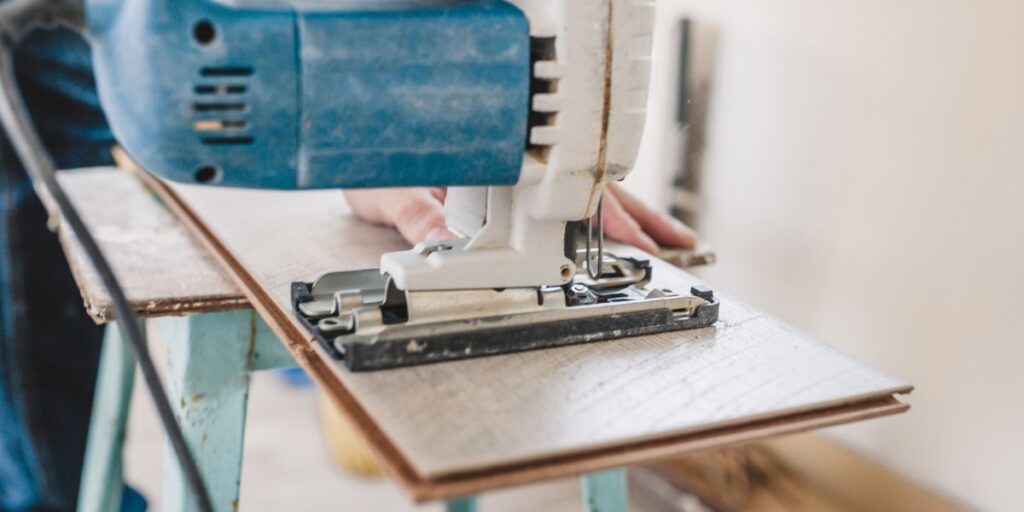
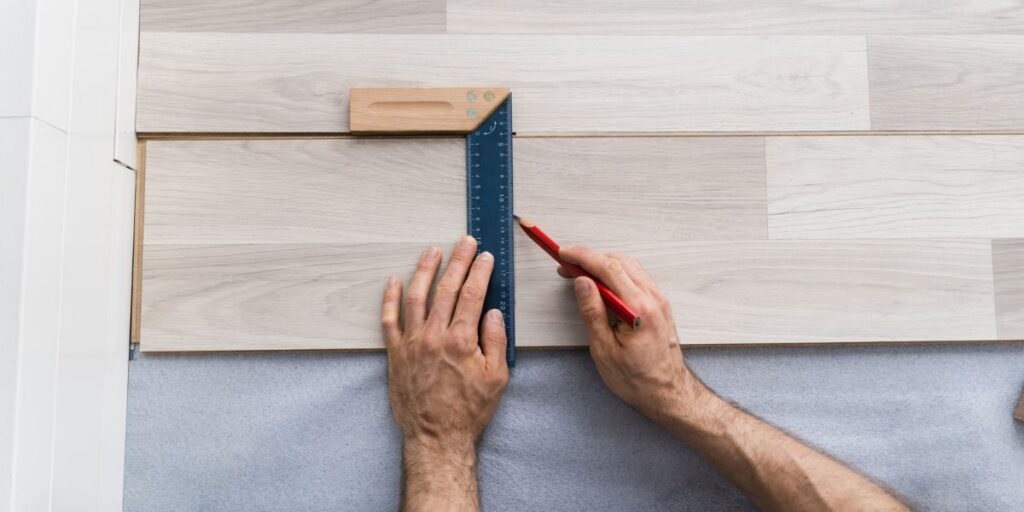
Before starting the process of fixing laminate flooring, it’s important to have all the necessary tools and materials on hand. You will need a hammer, pry bar, adhesive glue, replacement planks, and a saw to make cuts as needed. Additionally, a measuring tape is essential for ensuring the right size of planks is used.
Don’t forget about safety goggles – these should always be worn when using tools! It may seem obvious, but having all of these tools ready before starting will make the whole process much smoother.
Invest in Quality Materials:
One mistake people tend to make when fixing laminate flooring is using cheap or low-quality materials. As someone who has experience repairing floors, let me tell you – this is a recipe for disaster! While it may be tempting to save money by buying cheaper materials, this can lead to more problems down the road.
When choosing replacement planks or adhesive glue, invest in high-quality products that will last for years. You’ll thank yourself later when your floors are still looking great after several years.
Good Preparation Leads to Good Results:
There’s nothing worse than starting a project only to realize halfway through that you’re missing an important tool or material. Don’t let this happen to you! Take some time before beginning your project to gather everything you need and double-check that you have everything on hand.
Trust me: taking an extra 30 minutes upfront will save you hours of frustration later on. Once everything is gathered together in one place, take some time organizing it so that each tool/material has its own designated spot, making it easy to find as needed throughout the process.
: Gather all necessary tools and materials before beginning your repair project; invest in high-quality products; and take the time beforehand for good preparation. Doing so will ensure you have everything you need and help make the process as smooth as possible.
How to Fix Laminate Flooring That is Lifting?
If you’ve noticed that your laminate flooring is lifting, chances are there are some damaged planks that need to be removed and replaced. While this task can be frustrating and time-consuming, it’s a necessary step in the process of fixing your flooring.
Here’s how you can remove those pesky damaged planks. First, grab a pry bar and hammer.
Use the pry bar to lift up the damaged plank slightly, then use the hammer to gently tap it out of place. Be careful not to damage any surrounding planks while doing so.
It may take some patience and finesse, but with enough effort, you should be able to remove the damaged plank successfully. One important thing to keep in mind during this process is that each plank interlocks with its neighbors using a tongue-and-groove system.
This means that as you remove one plank, the neighboring ones may start to loosen as well. To prevent this from happening, make sure to hold down each surrounding plank firmly as you work on removing the damaged one.
Patience is Key When Removing Damaged Planks
Removing damaged planks can be a frustrating task, but it’s important not to rush through it. Taking your time and being patient will ultimately lead to better results in the long run. If you try rushing through this step or using too much force when prying up a plank, you risk damaging adjacent pieces or even injuring yourself in the process.
So take your time, work slowly and methodically, and try not to get frustrated if it takes longer than expected. Remember that quality workmanship takes time and effort – cutting corners will only lead to more problems down the line.
A Careful Approach Will Yield Better Results
When removing damaged laminate planks from your flooring system, it’s important to approach the task carefully and methodically. Rushing through this step or using too much force can cause more damage than good.
Take the time to examine each plank before attempting to remove it, and try to identify any areas that may be particularly fragile or vulnerable. If a plank appears stuck or stubborn, use a pry bar or similar tool to gently loosen it before prying it out of place.
By taking a careful and thoughtful approach to removing damaged planks, you’ll be able to ensure that your flooring system is properly repaired without causing additional issues in the process. Remember, slow and steady wins the race!
Clean Subflooring: The Key to Successful Laminate Flooring Repair
Let’s get one thing straight: cleaning your subflooring is not just another optional step that you can skip if you’re feeling lazy. No, no, no!
If you want to fix your lifting laminate flooring properly and ensure that it lasts for years to come, then cleaning your subflooring is an absolute must. Think about it this way: your subflooring is the foundation upon which your entire laminate flooring system rests.
And just as a shaky foundation can cause a house to crumble, a dirty or uneven subfloor can cause your laminate planks to buckle and lift over time. So before you even think about installing new planks, take the time to clean and prep your subfloor properly.
When it comes to cleaning subflooring, there are a few key steps that you should follow. First, sweep or vacuum up any debris or dust on the floor.
Then use a damp mop or cloth (not soaking wet!) to wipe away any dirt or grime that has accumulated over time. If there are any sticky substances on the floor (like glue residue from old flooring), use a gentle adhesive remover solution and a scraper tool to lift them away.
RELATED: How to Cut Laminate Flooring Without a Saw?
The Importance of Proper Adhesion
But why exactly is it so crucial to clean and prep your subfloor before installing new laminate planks? It all comes down to adhesion – the ability of two surfaces (in this case, the underside of the plank and the top of the subfloor) to stick together securely.
If there’s anything preventing these two surfaces from sticking together properly – whether it’s dirt, debris, moisture, or something else entirely – then your planks will be at risk of lifting again in the future. This not only looks unsightly but can also pose a safety hazard if someone trips over a lifted plank.
By taking the time to clean and prep your subfloor properly, you’re giving your new laminate planks the best chance possible of adhering securely and staying in place for years to come. So don’t skip this crucial step!
Frequently Asked Questions
What causes laminate flooring to lift?
Causes of laminate flooring lifting include moisture damage, improper installation, and inadequate expansion gaps.
How do you fix laminate flooring that is lifting in the middle?
To fix lifting laminate flooring in the middle, remove and reinstall the affected planks, ensuring proper installation and to address any moisture issues.
Can laminate flooring be lifted and reused?
While laminate flooring can be lifted, reusing it is challenging due to potential damage to the interlocking mechanism and compatibility concerns.
How do you fix a swollen laminate floor without replacing it?
To address swollen laminate flooring without replacement, address the source of moisture, allow for drying, and assess if repairs or replacement are necessary.
Is it normal for the laminate floor to bounce?
Laminate flooring should not bounce, indicating potential issues with the subfloor or underlayment that should be addressed during installation.
How do you keep laminate floors from swelling?
Prevent swelling of laminate floors by minimizing moisture exposure, promptly cleaning spills, using mats, maintaining humidity levels, and properly installing and sealing expansion gaps.
Conclusion: Don’t Cut Corners When it Comes to Laminate Flooring Repair
If you’re dealing with lifting laminate flooring, then fixing it properly should be your top priority. While it may be tempting to take shortcuts or skip certain steps (like cleaning your subflooring), doing so will only lead to more problems down the line. By following the steps outlined in this article – identifying the cause of lifting, gathering necessary tools and materials, removing damaged planks, and cleaning your subflooring – you can ensure that your laminate flooring repair is a success.
Remember that even though repairing damaged floors can be a daunting task in itself, taking the extra time to do things right can save you from having to repeat repairs or even replace entire sections of your flooring later on. So roll up those sleeves and get ready for some hard work – because there are no shortcuts when it comes to fixing laminate flooring that’s lifting!

