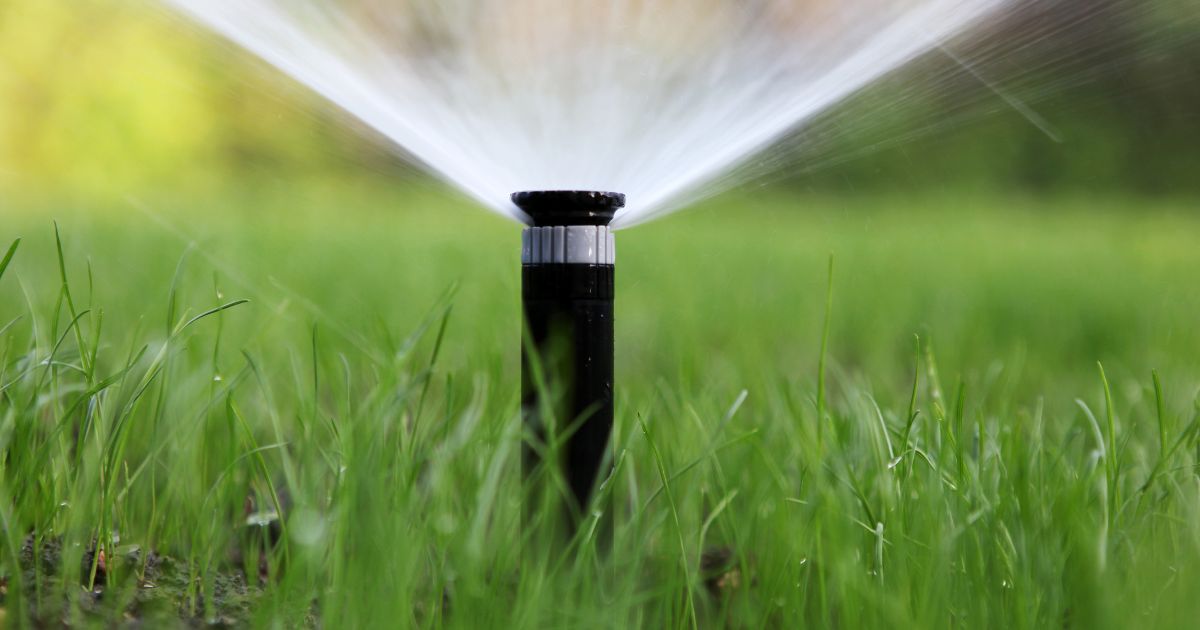
Are your sprinklers shooting water in unexpected directions or not covering the desired area? How to adjust a hunter sprinkler, you ask? Don’t worry, we’ve got you covered! In this guide, we’ll reveal the secrets of adjusting your Hunter sprinkler heads to perfection. Get ready to unleash the power of precise watering and achieve a lawn that will make your neighbors green with envy. So, grab your superhero cape, and let’s dive into the world of sprinkler adjustment wizardry!
To adjust a Hunter sprinkler, start by locating the adjustment screw on top of the sprinkler head. Use a flathead screwdriver to turn the screw clockwise to decrease the spray distance or counterclockwise to increase it. Additionally, you can adjust the spray pattern by rotating the nozzle turret left or right to cover the desired area.
The Importance of Adjusting Your Hunter Sprinkler
Efficient water usage is vital for maintaining a healthy landscape while conserving water. Overwatering can result in plant disease, fungus growth, and even death in extreme cases. On the other hand, underwatering will cause stunted growth or even death of plants.
When a new irrigation system or a new section is added to an existing system, it’s crucial to make sure the sprinklers are correctly adjusted. If not calibrated correctly, some areas may receive too much water while others get too little.
This uneven distribution can damage your lawn or garden. Furthermore, if you need to adjust the arc spray pattern or radius distance of your Hunter sprinkler due to changes in landscaping or weather patterns such as drought conditions or increased heat levels – you need proper knowledge of how to do so effectively.
The Basics: Explanation of Hunter Sprinklers
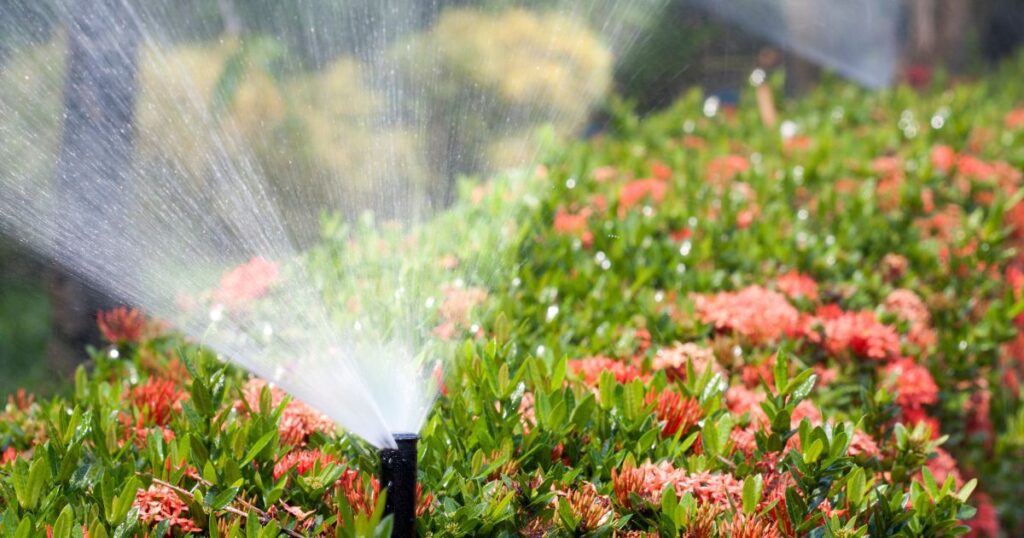
Hunter Industries manufactures a wide range of high-quality irrigation products that include rotors (also known as gear-driven), pop-up sprays (also called fixed spray heads), bubbler nozzles (for low-volume applications), valves (for controlling water flow), and more. Hunter rotors come equipped with various features such as adjustable arcs from 40-360 degrees (arc adjustment screw on top of rotor cap), adjustable distance (radius adjustment screw on top near nozzle), interchangeable nozzles with different flow rates and more.
Hunter pop-up spray heads are designed for smaller areas and have a fixed spray pattern. These are usually adjustable with nozzles that can be switched out for different distances, patterns, or flow rates.
How to Adjust a Hunter Sprinkler: Step-by-Step
The adjustment process may differ depending on the type of sprinkler you’re using. However, the following overview will give you an idea of how to adjust your Hunter sprinkler regardless of which type you have:
1. Turn off the water supply: This step is crucial before making any adjustments to your irrigation system.
2. Remove the nozzle: Unscrew the nozzle from the top of your sprinkler head using pliers or a wrench.
3. Adjust spray distance and pattern: Use a flathead screwdriver to adjust the arc adjustment screw clockwise or counterclockwise (depending on whether you want to increase or decrease radius distance), and use pliers/wrenches for the radius adjustment screw located near the nozzle area.
4. Replace nozzle & test: Screw in the new nozzle by hand until snug, reattach the sprinkler head top (rotor) by turning it clockwise onto the threaded base riser under the cap/top cover), and turn on the water supply valve Check for proper spray pattern and distance.
5. Repeat steps 3-4 as necessary until achieving desired results. Now that we have an overview, let’s dive deeper into each step to learn how to adjust your Hunter sprinklers confidently and efficiently!
Tools needed for adjusting a Hunter sprinkler
Screwdriver: The Essential Tool
Adjusting a Hunter sprinkler requires several tools, including a screwdriver, pliers, and a wrench. The screwdriver is the primary tool needed for the job and is essential for adjusting the spray distance and pattern of the sprinkler.
A flathead screwdriver is the best option for this task, as it can easily fit into the radius adjustment screw. When using a screwdriver to adjust your sprinkler, make sure to apply gentle pressure to avoid damaging any components.
Turning too hard or applying too much pressure can damage or strip parts such as screws or threads. Also, ensure that you have selected a screwdriver that fits snugly into the radius adjustment screw to avoid slippage during use.
Pliers: Gripping Tight
The second tool required for adjusting a Hunter sprinkler is pliers. Pliers are used to remove and replace nozzles on top of the sprinkler head.
This tool provides an easy way to grip and unscrew nozzles from their bases without causing damage to either part. When selecting pliers, choose ones with comfortable grips that allow you to exert enough force without slipping or losing control of them while in use.
RELATED: How To Locate Sprinkler Heads: 2023 Guide
Wrench: Every Turn Matters
The third tool necessary for adjusting your Hunter sprinkler is a wrench. This tool is essential when turning tight-fitting nuts that hold down specific components such as pop-up risers or other critical parts of your irrigation system.
A crescent wrench should work well on most types of nuts used in irrigation systems; however, make sure to select one with a comfortable grip that will not cause strain on your hands during use. Using all three tools mentioned above will help you get through any adjustment task related to your Hunter Sprinklers quickly and efficiently.
Remember to use each tool with care to protect your sprinkler system components. With the proper tools and techniques, you will be able to adjust your sprinklers to ensure your lawn and garden receive just the right amount of water they need.
Steps to Adjust a Hunter Sprinkler
Step 1: Turn off the Water Supply
When it comes to adjusting your Hunter sprinkler, it’s important to begin by turning off the water supply. This is crucial for safety reasons and also allows you to make adjustments without getting sprayed with water.
Locate the valve that controls the water supply to your irrigation system and turn it off. You may need to consult your sprinkler system manual or ask a professional for help if you’re not sure where this valve is located.
Step 2: Remove the Nozzle
Once you’ve turned off the water supply, use pliers or a wrench to loosen and remove the nozzle from the top of the sprinkler head. The nozzle controls the spray distance and pattern, so removing it will allow you to adjust these settings as needed. Be sure to handle the nozzle carefully so you don’t damage it.
Step 3: Adjust Spray Distance and Pattern
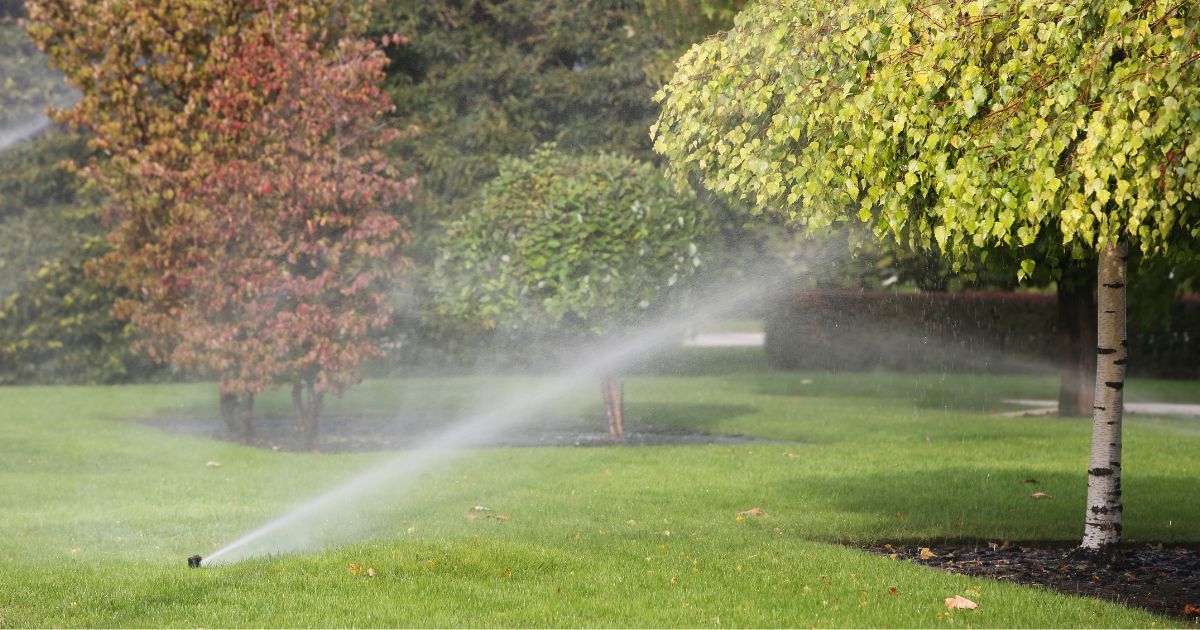
Now that you’ve removed the nozzle, it’s time to adjust your Hunter sprinkler’s spray distance and pattern. To do this, turn the radius adjustment screw clockwise or counterclockwise depending on whether you want to increase or decrease spray distance, respectively. The radius adjustment screw is usually located at the top of your sprinkler head, just below where you removed the nozzle.
Next, use a flathead screwdriver to adjust the arc adjustment screw, which alters the spray pattern by changing its angle. This can be done by gently turning in either direction until desired coverage is achieved.
Step 4: Replace Nozzle and Test
Once you have adjusted both spray distance and pattern, reattach your nozzle using pliers or wrenches if required. Screw in the new nozzle by hand until snug, then turn on the water supply again but be careful, not over-tighten as it may cause damage to the nozzle or sprinkler head.
Check for proper spray pattern and distance by observing how water sprays from the nozzle. It’s important to test your sprinkler system after making adjustments to ensure that everything is working properly.
Turn on the water supply and check for leaks, proper spray pattern, and distance. If you notice any issues, adjust the settings again or seek professional help if needed.
Frequently Asked Questions
How do you adjust the spray pattern on a Hunter sprinkler head?
To adjust the spray pattern on a Hunter sprinkler head, locate the adjustment screw or tab on the top of the sprinkler head and use a small flathead screwdriver or the provided adjustment tool to rotate it clockwise or counterclockwise to increase or decrease the spray arc.
What tool is used to adjust a Hunter sprinkler head?
The tool used to adjust a Hunter sprinkler head is typically a small flathead screwdriver or a specialized adjustment tool provided by Hunter.
How do you manually adjust sprinkler heads?
To manually adjust sprinkler heads, look for the arc adjustment screw or tab on top of the sprinkler head and use a screwdriver or adjustment tool to rotate it in the desired direction to change the spray pattern or arc.
RELATED: How Long Can You Run A Sprinkler On A Well?
Can you adjust a Hunter Pro spray sprinkler head?
Yes, you can adjust a Hunter Pro-Spray sprinkler head by using the arc adjustment screw or tab on the top of the sprinkler head.
What do the numbers mean on Hunter nozzles?
The numbers on Hunter nozzles typically represent the spray radius or distance that the nozzle can cover. For example, a nozzle with a number 4 may have a spray radius of 4 feet.
How do you adjust a Hunter I 25 sprinkler head?
To adjust a Hunter I-25 sprinkler head, locate the adjustment socket on top of the sprinkler head and use a Hunter adjustment wrench or a standard flathead screwdriver to turn the adjustment screw clockwise or counterclockwise to change the arc or spray pattern.
Conclusion
Adjusting a Hunter sprinkler isn’t difficult but requires careful attention to detail in order to achieve optimal watering results. The most important thing is to start by turning off the water supply before making any adjustments, then remove the nozzle carefully using appropriate tools like pliers or wrenches, as described above. Once you’ve removed the nozzle, take care when adjusting spray distance and pattern using radius and arc adjustment screws, respectively – this is where you most likely make mistakes, so take your time here!
Screw in the new nozzle by hand until snug, and turn on the water supply again, checking for the proper function of your sprinkler system. With these steps followed closely, you will have a perfect lawn every time!

