Priming your pool pump is an essential part of pool maintenance that can seem daunting at first, but it doesn’t have to be. With our step-by-step guide and helpful tips, you’ll be able to prime your pool pump like a pro in no time. Priming ensures proper circulation of pool water, which aids in keeping your pool clean and healthy.
Before attempting to prime your pool pump, it’s important to understand why it’s necessary and have the proper tools at hand. We’ll guide you through the process, from turning off the pool pump to observing the priming process.
Key Takeaways
- Priming your pool pump is crucial for proper circulation of pool water.
- Make sure you have the necessary tools before starting the priming process.
- Follow our step-by-step guide for successful priming.
- Observe the priming process to ensure everything is functioning correctly.
- Maintain proper pool pump priming over time to ensure efficient and consistent performance.
Understanding the Pump Priming Process
Before delving into the process of priming a pool pump, it’s crucial to understand the significance of this step. Priming a pump is necessary to ensure that it can efficiently circulate water through your pool’s filtration system. Without proper priming, the pump may struggle to function optimally, leading to various problems.
However, even when you follow the priming process instructions, challenges may arise. This section will delve into common pool pump priming problems and techniques to help overcome them. Prime pool pump troubleshooting requires identifying the root cause of the problem and working towards finding a solution.
One common issue during the priming process is the formation of air pockets within the pump. These bubbles may hinder the flow of water, reducing the pump’s efficiency. To fix this issue, you may need to use a combination of priming techniques, including manual priming to clear the air pockets.
Another challenge you may encounter is a blockage within the pump’s impeller or suction line. When this happens, the pump may not be able to draw in water, hence failing to prime. To address this, you’ll need to inspect the pump’s components to identify the blockage and clear it out.
Additionally, a leaking pool pump may lead to priming issues. Leaks may cause air to enter the system and hinder proper circulation. If you notice a leaking pump, you should address it immediately to avoid complications down the line.
Pool pump priming techniques involve understanding these issues and addressing them methodically until the pump is correctly primed. As you troubleshoot pool pump priming problems, it’s essential to remain patient and avoid rushing the process.

Before beginning the pool pump priming process, it’s essential to ensure that you have all the necessary tools and equipment to avoid any interruptions during the process. Below is a checklist of items you’ll need to prepare for a successful pool pump priming, especially if it’s your first time:
- Pool Pump Manual: Check the manual to know the manufacturer’s specifications and recommendations for priming your pool
- Safety Goggles: It’s essential to protect your eyes from any debris that may fly out as you do the priming procedure
- Gloves: Protect your hands when opening the pump lid
- Bucket: Use a bucket to carry water to fill the pump basket
- Water Hose: You’ll need a water hose to fill the pump basket with water
- Thread Seal Tape: If the pump lid has a thread, you may need to wrap the thread with this tape to ensure a tight seal
Make sure you have all these items ready before beginning the pool pump priming process. With everything prepared, you’re ready to move on to the next step.

Before you begin priming the pool pump, it’s crucial to turn it off to avoid any accidents. Here is a pool pump priming checklist to follow for proper shutdown:
- Turn off the power to the pool pump by switching off the circuit breaker or unplugging it from the electrical outlet. This step will prevent the pump from starting up when you’re working on priming it.
- Close the valves leading to the pool pump to prevent any water from entering while you’re priming the pump. This step will allow you to focus on filling the pump with water instead of water entering the pool and causing more problems.
Once you’ve turned off the pool pump and closed the valves, it’s time to move on to the next step in the priming process.

Before proceeding with the priming process, it’s crucial to close the pool skimmer valves. Failure to do so can affect the priming process and lead to performance issues with your pool pump.
First, locate the skimmer valves on your pool system. These are typically located near the pool itself or alongside the filter and pump system.
Next, turn the valve handles to the “closed” position. This will prevent water from entering the pool skimmer and allow the pump to draw water effectively from the pool.
It’s important to ensure that the skimmer valves are fully closed to prevent any air from entering the system, which can cause problems during the priming process.
Once the skimmer valves are closed, you can proceed with the priming process. Remember to keep safety in mind and follow the steps outlined in our previous sections for a successful priming experience.
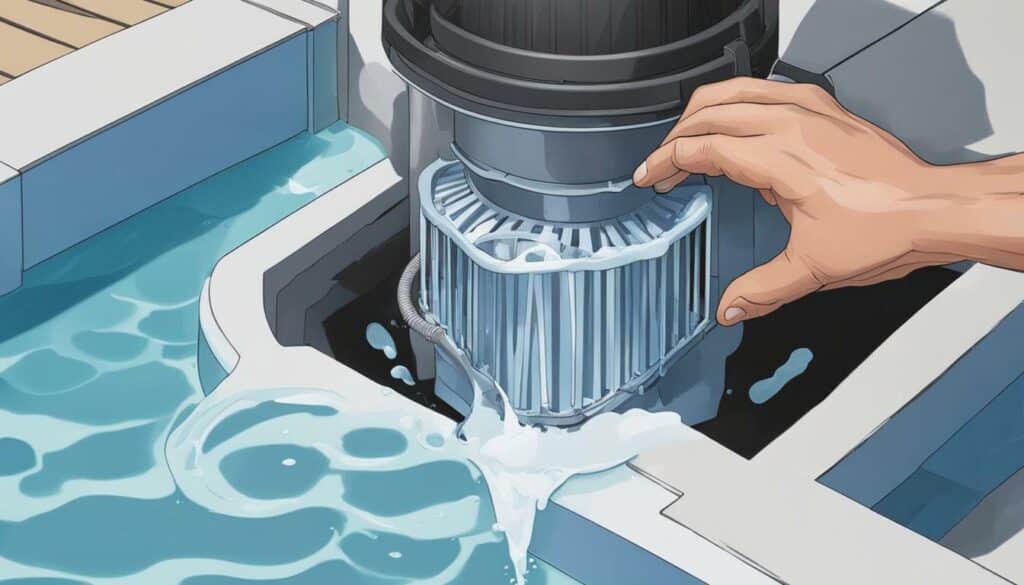
Before you can begin priming the pool pump, you need to access and open the pump lid. Locate the pool pump and ensure that the power is turned off. Once the power is off, you can begin to open the lid.
To start, make sure the pump lid is clean and free of any debris. This will prevent any future clogging and ensure a smooth and efficient priming process. To open the lid, locate the locking mechanism and rotate it in a counterclockwise direction. Be careful not to apply too much force, as this can damage the lid or the locking mechanism.

Once the lid is unlocked, carefully lift it off the housing and set it aside. You may need to use a bit of force to lift the lid, so be sure to use your legs rather than your back to avoid injury.
With the pump lid now open, you can access the pump basket and begin the priming process.
Filling the Pump Basket with Water
Now that you have successfully opened the pool pump lid, it’s time to fill the pump basket with water. This step is crucial for the priming process to begin.
Start by locating the pump basket, which is usually located under the pool pump lid. Remove the basket and fill it with water using a garden hose or a bucket. Make sure to fill it to the top so that the pump is fully submerged.
Note: It’s important to use clean water to avoid introducing any debris into the pump system.
Once you’ve filled the basket with water, carefully place it back into the pump. Make sure it’s secured tightly to prevent any air from entering the system.

You’re now ready to move on to the next step in the priming process – Securing the Pump Lid and Turning on the Pump.
Securing the Pump Lid and Turning On the Pump
After filling the pump basket with water, it’s time to secure the pump lid tightly. Make sure the lid is properly aligned and seated in its position before tightening the locking mechanism. This will prevent any air from entering the system during the priming process.
Once the lid is securely in place, it’s time to turn on the pump. Before doing so, double-check that all valves are in their correct position. Then, switch on the pump and observe it closely. You should be able to see water being pulled from the pool into the pump.
If you encounter any problems at this stage, refer to the troubleshooting section below. Otherwise, wait for a few minutes to allow the pump to prime fully.

It’s important not to rush the priming process. Allow the pump to operate for at least two to three minutes before making any adjustments. This will give the system enough time to stabilize and ensure proper water flow.
If you notice any issues such as unusual noises or air bubbles in the system, turn off the pump immediately and refer to the troubleshooting section below. These could be signs of a problem with the priming process or an issue with the pump itself.
Once the pump has been running for a few minutes and everything appears to be working properly, you can proceed to turn on the pool skimmer valves. This will allow water to start flowing freely through the system, ensuring proper filtration and circulation.
Observing the Priming Process
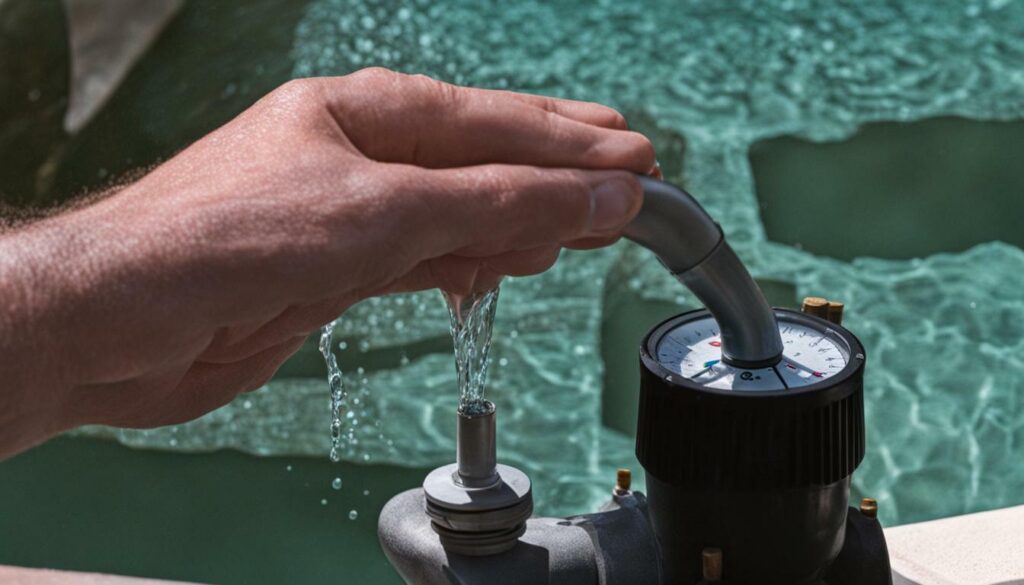
Now that the pool pump is running, it’s time to observe the priming process. It is important to ensure that the water is flowing smoothly through the pump and that there are no leaks. You should also check that the pressure gauge is reading within the normal operating range for your pool system.
If you notice any signs of trouble, such as low pressure or abnormal sounds, turn off the pump immediately and consult our troubleshooting guide in section 10.
Remember that observing the priming process is crucial to ensure that the pump is working correctly. It also allows you to catch any issues early on and prevents them from turning into more significant problems down the road.
Continue to monitor the pool pump for the next few minutes to ensure that everything is functioning correctly. Once you’re satisfied that everything is working as it should, you can move on to the next step in the process.

Even after following all the steps, you may encounter some common issues during the priming process. It’s important to troubleshoot these problems as soon as possible to prevent any damage to the pool pump or other equipment. Here are some common pool pump priming problems and solutions:
Problem 1: Air Leakage
Sometimes, there may be air leakage in the suction system, which can prevent proper priming. To check for air leakage, turn off the pump and inspect the seals, valves, and other components of the suction system. Check for any cracks, tears, or other damage that could allow air to enter the system.
To fix air leakage, replace any faulty parts or use sealant to cover cracks or tears. It’s also important to tighten any loose connections in the suction system to prevent further air leakage.
Problem 2: Clogged Skimmer Basket
A clogged skimmer basket can prevent water from entering the pump, obstructing the priming process. To fix this issue, turn off the pump, remove the skimmer basket, and clear out any debris or leaves that may be blocking the basket. Make sure to clean the basket regularly to prevent future clogs.
Problem 3: Low Water Level
If the water level in the pool is too low, it can prevent the pump from priming properly. To fix this issue, add water to the pool until it reaches the recommended level indicated on the skimmer or pool manual. Once the water level is sufficient, repeat the priming process.
Problem 4: Damaged Impeller
If the impeller is damaged, it can prevent the pump from creating enough suction to prime properly. To fix this issue, turn off the pump and inspect the impeller for any cracks, chips, or other damage. If the impeller is damaged, it will need to be replaced.
These are just a few of the common pool pump priming problems you may encounter. By troubleshooting these issues and following the solutions provided, you can ensure a successful priming process and maintain efficient pool pump performance.

Congrats! You’ve successfully primed your pool pump and can now enjoy a clean and well-maintained swimming pool. To ensure proper pool pump priming, it’s essential to perform regular maintenance checks. Here are some tips and techniques to help you maintain optimal performance from your pool pump:
- Inspect the pump and filter regularly to detect any signs of damage or wear and tear. Replace faulty parts as needed.
- Keep the pump area clean and free of debris that could clog the pump or skimmer.
- Check the water level regularly and add water as necessary to maintain proper levels.
- Monitor the pressure gauge and backwash the filter when the pressure rises above the recommended level.
- Run the pump for at least eight hours a day to ensure proper circulation and filtration.
- Follow the manufacturer’s guidelines for pool pump maintenance and cleaning.
By following these guidelines, you can ensure efficient and consistent performance from your pool pump. Your pool pump plays a crucial role in maintaining a clean and healthy swimming pool, so be sure to take care of it properly.

Priming your pool pump may seem like a daunting task, but by following the steps outlined in this guide, you can easily do it yourself and save on costly professional maintenance fees. Remember to always prioritize safety when working on your pool pump and ensure that all necessary precautions are taken.
Understanding the priming process is key to troubleshooting any problems that may arise, and with the proper tools and techniques, you can ensure that your pool pump continues to operate efficiently over time.
Regular maintenance is crucial to maintaining proper pool pump priming, so make sure to carry out routine checks and cleaning to prevent any issues from occurring in the future. By taking care of your pool pump, you can enjoy a clean and well-maintained swimming pool all season long.
FAQ
Q: How do I prime a pool pump?
A: To prime a pool pump, follow these steps: turn off the pump, close the pool skimmer valves, open the pump lid, fill the pump basket with water, secure the pump lid, and turn on the pump. Observe the priming process and troubleshoot any issues that may arise.
Q: Why is it necessary to prime a pool pump?
A: Priming a pool pump is necessary to remove any air from the system and ensure proper water circulation. It allows the pump to operate efficiently and prevents damage to the motor and other components.
Q: What tools and equipment do I need to prime a pool pump?
A: To prime a pool pump, you will need the following tools and equipment: pump lid wrench, bucket or hose for filling the pump basket with water, and a screwdriver or wrench for closing skimmer valves if necessary.
Q: How do I turn off the pool pump?
A: To turn off the pool pump, locate the power switch or circuit breaker and switch it to the “off” position. This will ensure safety during the priming process.
Q: Why do I need to close the pool skimmer valves?
A: Closing the pool skimmer valves prevents water from flowing back into the skimmer lines while priming the pump. This allows the pump to draw water only from the dedicated suction line, ensuring efficient priming.
Q: How do I open the pool pump lid?
A: To open the pool pump lid, locate the lid on top of the pump housing. Use a pump lid wrench or a suitable tool to loosen and remove the lid by turning it counterclockwise.
Q: How do I fill the pump basket with water?
A: Fill a bucket or use a hose to add water to the pump basket until it is completely filled. This helps create a water seal and facilitates the priming process.
Q: How do I secure the pump lid and turn on the pump?
A: After filling the pump basket with water, place the pump lid back onto the housing and tighten it securely. Once the lid is secured, turn on the pump by switching the power switch or circuit breaker to the “on” position.
Q: What should I observe during the priming process?
A: During the priming process, observe the flow of water into the pump basket, the pressure gauge readings, and any unusual noises or vibrations. This will help identify any issues that may require troubleshooting.
Q: What are some common priming issues and how can I troubleshoot them?
A: Common priming issues include air leaks, low water level, and clogged impeller. To troubleshoot these issues, check for loose connections, make sure the water level is sufficient, and clean or replace the impeller if necessary.
Q: How can I maintain proper pool pump priming?
A: To maintain proper pool pump priming, regularly inspect and clean the pump basket, check for any leaks or air bubbles in the system, and ensure proper water level in the pool. It’s also important to follow a regular maintenance schedule and address any issues promptly.


