Are you tired of your thirsty lawn and parched garden competing for water? Well, fear not! In this delightful guide, we’ll unveil the secrets of splitting a zone in your existing sprinkler system. Get ready to embark on an epic journey where we’ll discover how to quench your plants’ thirst individually, bringing harmony and hydration to your outdoor oasis. So grab your gardening gloves and join us on this whimsical adventure!
To split a zone in an existing sprinkler system, you’ll need to locate the main water supply and turn it off. Next, identify the sprinkler heads that you want to separate into a new zone and cap off the unused ones. Finally, connect a new valve to the main line and attach the sprinkler heads you want in the new zone. Voila! You’ve successfully split a zone in your sprinkler system, giving your plants the individual attention they deserve.
The Importance of a Sprinkler System
A sprinkler system is an essential tool for maintaining a healthy lawn or garden. It provides the necessary water to keep plants hydrated and nourished, especially during the hot summer months. A well-designed sprinkler system can ensure that water is distributed evenly and efficiently throughout your landscape without any wasted resources or excess runoff.
Automatic sprinkler systems are also very convenient, as they can be programmed to operate on specific schedules that work best for your plants. This eliminates the need for manual watering and ensures that plants receive consistent moisture throughout the year.
Why Splitting a Zone in Your Sprinkler System May Be Necessary
If you find yourself in a situation where certain areas of your landscape demand different watering needs, splitting a zone in your existing sprinkler system can come to your rescue. By doing so, you ensure that each plant receives its ideal amount of moisture. Whether it’s accommodating diverse plant types or addressing varying watering requirements, knowing how to split a zone in an existing sprinkler system empowers you to optimize your watering routine for a flourishing landscape.
Another reason may be due to changes in your landscape over time. Perhaps you’ve added new flower beds or trees that were not part of the original design.
In this case, splitting zones allow you to adjust watering patterns accordingly without having to replace the entire system. Additionally, splitting zones can improve the overall efficiency of your sprinkler system by reducing water waste and ensuring proper coverage.
By dividing large zones into smaller ones, you can fine-tune watering patterns for specific areas and avoid overwatering certain parts of your landscape. Splitting a zone in an existing sprinkler system is an effective way to improve its performance and efficiency while ensuring that all areas of your landscape receive adequate moisture.
The Consequences of Not Splitting Zones
Neglecting to split zones in your sprinkler system can lead to a range of problems. For example, if you have plants with different watering needs in the same zone, they may not receive the appropriate amount of moisture.
This can result in under or over-watering, which can damage plants and even cause them to die. Additionally, if certain areas of your landscape require more water than others but are all part of the same large zone, you may end up wasting resources by overwatering the entire area.
This is not only bad for the environment but also costly on your water bill. If you’ve made changes to your landscape and failed to adjust your sprinkler system accordingly, you may be inadvertently causing damage through under or overwatering.
By splitting zones and fine-tuning watering patterns for specific areas, you can avoid these issues altogether. Not splitting zones in an existing sprinkler system can lead to serious consequences for both your landscape and wallet.
The Benefits of Splitting Zones
Splitting zones provides numerous benefits that can improve the performance and efficiency of your sprinkler system. One major advantage is that it allows you to customize watering schedules for specific areas based on their unique needs. This ensures that all plants receive appropriate amounts of moisture without waste or excess.
Another benefit is that it helps reduce water usage and promote environmental sustainability. By fine-tuning watering patterns based on plant type and need, less water is wasted in areas that don’t require as much moisture.
This promotes more efficient use of our precious natural resources while reducing costs on water bills. Splitting zones can help prevent plant damage caused by over or under-watering.
By ensuring proper coverage for each area according to its unique needs, all plants will be healthier and happier throughout the year. Splitting a zone in an existing sprinkler system has numerous benefits ranging from improved efficiency to environmental sustainability.
Assessing the Existing System
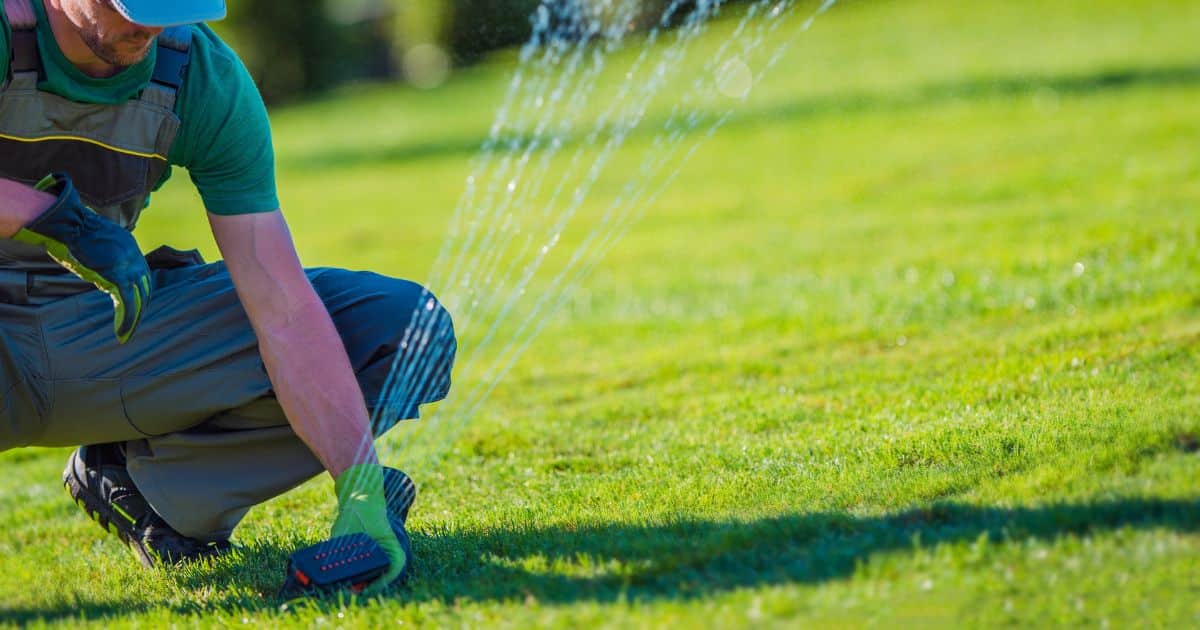
Before making any changes to an existing sprinkler system, it is essential to assess the current setup thoroughly. This assessment will help identify which zones need to be split and why.
It is not uncommon for a homeowner to assume that their yard requires more water or areas than what the existing irrigation system provides. However, before adding additional zones, it is necessary to take a closer look at the current state of affairs.
The Importance of Assessing
One critical reason for assessing the sprinkler system before making any changes is to understand how much water each zone currently receives. The amount of coverage provided by each zone depends on the number of heads and their individual spray radius around them.
If one area already has sufficient coverage from an existing zone, there may not be a need for another new one. Another reason why assessing your current irrigation system is essential is that it provides information on how much water pressure you have in each zone.
Assuming too many zones will lead to low water pressure and affect overall coverage negatively. Conversely, with too few zones covering too much area, some spots may receive too little water and result in dry patches.
Identifying Zones that Need Splitting
The primary goal of splitting a zone in an existing sprinkler system is to provide better coverage overall while ensuring areas receive enough water without waste or overuse. The first step in identifying which zones need splitting involves checking for dry spots or areas with insufficient coverage compared to other parts of your lawn or garden.
If you notice brown patches where the grass looks dead, chances are that section needs more watering than what it currently receives from its assigned sprinkler head(s). Additionally, if there are plants or shrubs that require more significant amounts of moisture than others, such as a vegetable garden or flower beds, it is wise to assess these areas’ sprinkler coverage and adjust as necessary.
Heavy foot traffic in certain areas may also necessitate additional coverage. For instance, if you have a pathway through your lawn that gets a lot of traffic, the sprinkler system may need to be adjusted accordingly.
Overall, before splitting zones in an existing sprinkler system, it’s essential to take note of which areas require more watering. This assessment will help ensure that you add only the required split zones without wasting water or overburdening your irrigation system unnecessarily.
RELATED: How To Dewinterize Sprinkler System: 2023 Guide
Gathering Materials
The Necessary Materials for Splitting a Zone
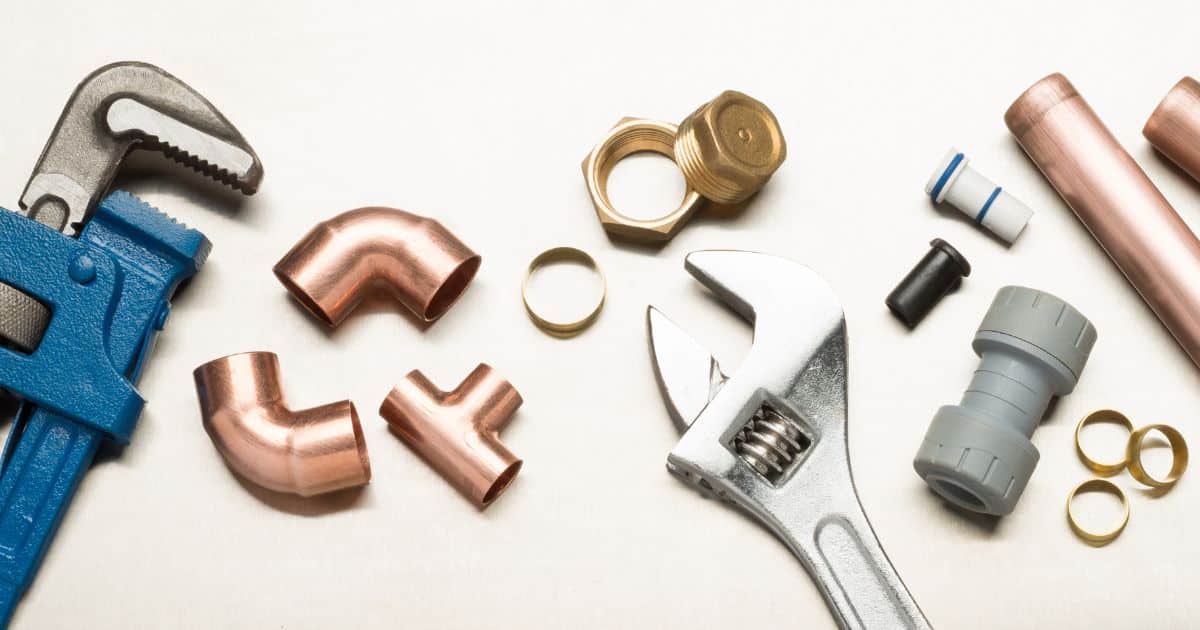
Before getting started, it’s important to have all of the necessary materials for splitting a zone in an existing sprinkler system. The list of materials includes PVC pipes, fittings, valves, and tools. The PVC pipes will be used to connect the valves to the areas of coverage for each split zone.
The size of the pipes will depend on the water pressure and flow rate of your system. Typically, ¾-inch diameter pipes are sufficient for most residential systems.
Fittings are also needed to connect PVC pipes together. These include couplings, elbows, tees, and other connectors that allow you to create a specific layout that meets your lawn’s needs.
It is essential to purchase fittings that match the diameter of your PVC pipe. Valves are critical components in any sprinkler system as they control the flow of water.
You will need new valves for each split zone you create in your existing system. Valves come in different sizes and types; ensure you choose ones that fit well with your system type.
Where To Purchase Materials
Once you know what materials are required for splitting a zone in an existing sprinkler system, it’s essential to know where to purchase them from. A good place to start is at specialized hardware stores that carry plumbing supplies or home improvement stores such as Lowe’s or Home Depot.
It’s worth noting that some materials may not be readily available at local home improvement stores; hence it is advisable first to check with plumbing supply outlets. Online stores like Amazon or eBay may offer more variety when it comes to sizes and types than physical shops do.
It is always best practice to buy high-quality materials from well-known brands as these products tend not only last longer but also offer better value for money over time. Consider contacting professional irrigation companies or enquiring online before purchasing if you have any questions specific to your system and needs.
Planning the Split
Creating a Plan for Splitting Zones
Before starting any work on your sprinkler system, it’s important to create a plan. The first step in planning the split is to identify which zones need to be split. You should examine the current coverage area of each zone and make sure that it is not too large or too small.
If you have an area that requires more water than others, then it might be necessary to split that zone as well. Once you’ve identified which zones need to be split, you should consider factors like water pressure and coverage area when creating your plan.
Make sure that each new zone has enough pressure and coverage to effectively water your lawn or garden. Additionally, consider the types of plants in each zone and how much water they require.
Factors to Consider When Planning the Split
One important factor when splitting zones is water pressure. You will need to ensure that each new zone has sufficient pressure so that all areas of your lawn or garden receive enough water for healthy growth.
To do this, you’ll want to calculate the pressure drop between the mainline and valve location for each new zone. Another factor includes coverage area – ensuring that there is an appropriate amount of overlapping coverage between zones can help avoid dry spots in your lawn or garden.
This may require adjusting sprinkler head positions or considering different sprinkler head types. Take into account plant types within each new zone; plants with different watering needs may require separate areas if they are not compatible with one another within an irrigation system.
Determining Valve Locations
Once you’ve created a plan for splitting zones based on factors such as water pressure, coverage area, and plant types, determine where new valves will be installed. Typically valves are installed at locations furthest away from their respective control box; this can vary depending on the existing layout of your system. You may need to adjust other valves in order to create an appropriate layout for your new zones.
When planning valve locations, keep in mind that each valve will control one new zone. The location of the valve should be easily accessible for maintenance purposes, but also out of sight if possible.
Ensuring Proper Water Flow
Another important factor when planning a split is ensuring proper water flow through each zone. This means that each zone should have its own set of pipes and valves that are separate from other zones.
If you don’t separate the pipes and valves correctly, it can cause issues with water pressure and coverage. For example, if two zones share the same pipe, one may receive too much water while the other may not receive enough.
When planning your split, ensure that each zone has its own dedicated set of pipes and valves. This will help ensure proper water flow throughout your entire sprinkler system.
Maximizing Efficiency
Splitting zones isn’t only about dividing up space – it also allows you to maximize efficiency within your sprinkler system. By creating smaller zones, you can more effectively target areas with varying irrigation needs while minimizing wasted water in areas that don’t require as much.
In addition to splitting zones based on coverage area and plant types, consider grouping together plants with similar watering needs as well as varying watering requirements throughout different seasons; this reduces overwatering or underwatering in different locations at different times during the year. By properly planning the split of your sprinkler system’s zones based on factors like water pressure, coverage area, and plant types, you’ll ensure efficient use of resources while providing adequate irrigation for a healthy lawn or garden.
Making Adjustments to Existing System
Adjusting Pipes and Fittings
Before installing new valves, you may need to make adjustments to your existing pipes and fittings. This is necessary to accommodate the new zones that you will be creating.
The first step in this process is identifying which pipes and fittings need to be adjusted. You can do this by observing the current layout of your sprinkler system and noting where the changes need to be made.
Once you have identified the areas that require adjustments, it is time to start making them. Begin by turning off the water supply to your sprinkler system.
Then, cut out any existing pipe that is in the way of your new zone layout using a handsaw or PVC cutter. Be sure to measure and mark where you have cut so that you can connect it back together later.
Next, connect new PVC pipes and fittings in order to create plumbing for each zone according to your plan. Use T-fittings or other appropriate fittings in order to join existing pipes with new ones for best results.
Installing New Valves
After adjusting your existing system’s pipes and fittings, it’s time for valve installation. Each split zone requires its own valve so water can flow only when needed without wasting any water on unneeded sections of lawn or garden. To install a valve, locate an appropriate spot along your main pipe where branching out will allow easy coverage of all plants or grass within this particular zone. First, dig a hole deep enough so that when laying down PVC pipe underneath ground level, there will still allow adequate space beneath it before connecting to the main water line.
Carefully attach a valve onto each added section of PVC piping using proper installation techniques such as solvent cement bonding or threaded connections depending upon fitting types selected during the construction process. After completing all adjustments along with installing individual valves at required locations across newly created zones, test your system to ensure no leaks.
Turn the water supply on and check for any leaks. If there are, turn off the water and make any necessary adjustments before testing again.
Making these adjustments to your existing sprinkler system may seem daunting, but it is crucial to ensure that your lawn or garden receives the proper amount of water without wasting any resources. With a little patience and attention to detail, you can create a more efficient sprinkler system that will benefit both your plants and your wallet in the long run.
Connecting New Pipes
Planning the Layout
Before connecting new PVC pipes to the split zones, it is important to plan out the layout for each zone. Start by marking each valve location and assessing the coverage area for each zone. This will help determine where new pipes need to be installed and which fittings need to be used.
It’s important to keep in mind that each zone may require different types of sprinkler heads or watering methods based on the plant types and coverage area. Once you’ve determined the layout, create a detailed plan before installing any new pipes.
Cutting and Measuring Pipes
After planning out the layout, start cutting and measuring PVC pipes according to your plan. Be sure to use proper safety equipment when cutting PVC pipes, such as safety glasses and a saw blade specifically made for PVC.
Measure each pipe carefully before cutting to ensure a proper fit with fittings. It’s better to cut it longer than you think you need at first, as pipes can easily be trimmed down later if necessary.
Installing Fittings
Once your pipes are cut and measured, install fittings onto both ends of each pipe. Use appropriate fittings for your specific piping system (e.g., slip or threaded) and ensure they are correctly sized for your pipe diameter. Make sure that all threads are wrapped with Teflon tape before screwing them in place.
Push slip-on fittings onto their respective pipe ends until they click into place. Ensure that all fittings are properly secured with clamps or glue depending on what fitting system is being used in your piping system.
Securing Pipes
Once all of the parts have been connected together securely, it’s important to attach clamps around every joint on both sides of every fitting in order to provide maximum support wherever possible. This helps prevent leaks from occurring once everything is turned back on.
Before turning on the water supply to your sprinkler system, make sure you secure all your pipes. Inspect for any loose connections, and tighten them if necessary.
Testing
After securing all of your pipes, it’s important to run a water test for each newly split zone. This will ensure that all of the new components work correctly and there are no leaks in the system. Turn on the water source and activate each new split zone.
Inspect each sprinkler head or watering method to ensure proper coverage. If you notice any leaks or poor coverage, troubleshoot and make adjustments as necessary.
Connecting new PVC pipes from each valve location to their respective areas of coverage requires careful planning, accurate measurements, and proper installation techniques. By following these steps carefully, it is possible to successfully create new zones in an existing sprinkler system without any issues or complications.
RELATED: How to Find Buried Sprinkler Valves: A Beginner’s Guide
Testing
Discuss the importance of testing
After completing the installation of a split zone in an existing sprinkler system, it’s important to test it to ensure that it is functioning correctly. Testing provides an opportunity to identify any leaks, malfunctions, or other issues that may have arisen during installation and make necessary adjustments. A properly working sprinkler system is essential for maintaining a healthy lawn or garden.
The Testing Process
Begin by turning on the water supply and observing each zone for proper water pressure. If you notice any water leaking from pipes or fittings, turn off the water supply immediately and fix the problem. Check that all zones are receiving adequate coverage and adjust as necessary.
Ensure that each zone is turning on and off correctly by testing individual valves separately. Check for clogged nozzles or filters within the system, which could block water flow.
Timing Your Sprinklers
To ensure proper irrigation timing, check whether each zone requires customization in terms of time duration or frequency of watering depending on plant types and your location’s climate. During peak summer months, when days are hotter, you may need to increase watering frequency or duration.
Frequently Asked Questions
Do you need to Dewinterize a sprinkler system?
Yes, if you have previously winterized your sprinkler system, you will need to reverse the process by dewinterizing it before using it again in the spring.
How do I turn on my sprinkler system after winterization?
To turn on your sprinkler system after winterization, close any drain valves or plugs that were opened during the winterization process, then slowly open the main water valve to allow water to flow back into the system.
How do you flush a sprinkler system?
To flush a sprinkler system, open each zone valve one at a time to allow water to flow through the sprinkler heads. Let the water run for a few minutes until it appears clear and free of any debris or sediment.
How do I start my sprinklers again?
After winterization, you can start your sprinklers again by ensuring the water supply is turned on, checking for any closed valves or drains, and programming your sprinkler controller to run the desired watering schedule.
What is the winterization of sprinklers?
Winterization of a sprinkler system refers to the process of preparing the system for freezing temperatures during the winter months. This typically involves draining the water from the pipes and components to prevent them from freezing and potentially causing damage.
What happens if sprinklers are not winterized?
If sprinklers are not winterized, the water inside the pipes can freeze, expand, and potentially cause the pipes to crack or burst. This can result in costly repairs and the need to replace damaged components of the sprinkler system.
Conclusion
Splitting zones in an existing sprinkler system can be a daunting task, but with careful planning, proper materials utilization, patience during installation, and adequate testing, it can be completed successfully without breaking a sweat! With this guide as your reference, you will be able to tackle this project with confidence. Once complete, you will notice increased efficiency in watering your plants resulting in more luscious lawns & gardens, ultimately leading to enhanced curb appeal!

