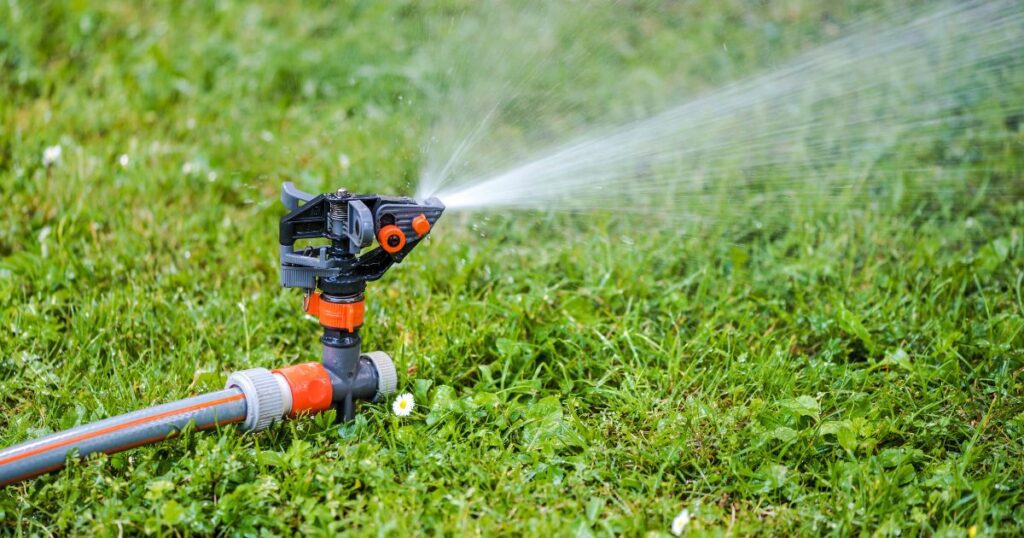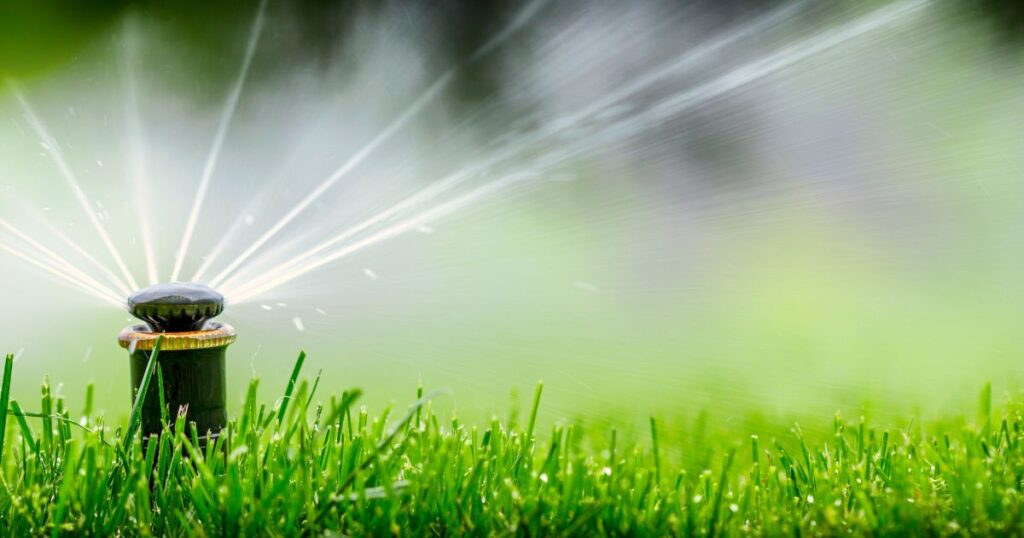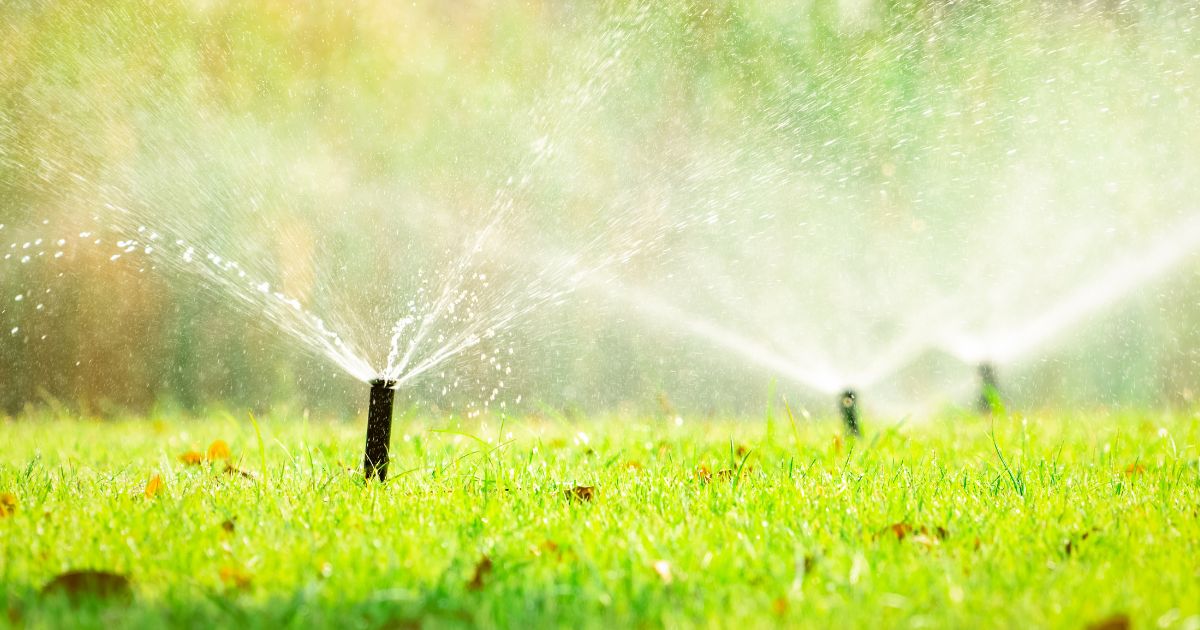
Are you ready to take your sprinkler system to new heights? If you want to elevate your sprinkler head game and reach new watering heights, then you’re in the right place! In this guide, we’ll show you how to install sprinkler riser extension, so you can reach those hard-to-reach areas of your lawn and make your neighbors green with envy. Get ready to rise above the rest and unleash the full potential of your sprinkler system!
Installing a sprinkler riser extension is a breeze! Start by turning off the water supply to your sprinkler system. Then, remove the existing sprinkler head and attach the riser extension to the riser pipe. Finally, screw the sprinkler head onto the top of the extension, turn on the water, and enjoy the extended reach of your sprinkler system.
The Importance of Sprinkler Systems in Maintaining a Healthy Lawn and Garden
Sprinkler systems are essential for maintaining healthy lawns and gardens. The right amount of water at the right time can make all the difference in growing a lush and vibrant landscape.
Without regular watering, grass, and plants can quickly become dry, brown, and brittle. In addition to affecting the overall look of your property, neglecting your landscaping can impact local ecosystems by leading to soil erosion or groundwater depletion.
Furthermore, manually watering your lawn or garden is incredibly time-consuming and inefficient compared to using an automated sprinkler system. When you have an automated sprinkler system in place, you don’t have to worry about spending hours outside with a hose or forgetting to water during dry spells.
Overview of Sprinkler Riser Extensions and Their Benefits
Sprinkler riser extensions are an excellent addition to any existing sprinkler system that needs additional height for better coverage. These extensions come in various lengths so that you can customize them based on specific needs such as raised garden beds or uneven terrain.
In addition to providing height adjustments for better coverage, there are other benefits associated with installing sprinkler riser extensions:
- Reduced Water Waste: by raising the height of your existing sprinklers with riser extensions, water is less likely to evaporate before it reaches the ground, reducing unnecessary water loss.
- Increased Efficiency: with better coverage from your sprinkler system, you can ensure that your lawn and garden are getting the right amount of water they need to thrive.
- Easy Installation: Installing sprinkler riser extensions does not require special skills or tools. Even if you have little experience with plumbing or irrigation systems, you can easily install them yourself with a few basic tools.
- Cost Savings: Rather than replacing an entire sprinkler system or hiring a professional to make adjustments, installing sprinkler riser extensions is an affordable option for enhancing your existing system. In addition, using less water can lead to significant savings on your monthly water bill.
The next section will provide more information on what materials you will need and step-by-step instructions for installing sprinkler riser extensions to improve the efficiency of your irrigation system.
Materials Needed
Before beginning the installation process, it is important to gather all necessary materials. Below is a list of materials needed to successfully install a sprinkler riser extension:
1. Sprinkler Riser Extension Kit
The sprinkler riser extension kit comes with a PVC pipe, fittings, and an attachment for the existing sprinkler head. It is important to choose a kit that fits the size of your existing sprinkler system and meets your specific needs. Some kits come with multiple extensions for a more customized installation.
2. Teflon Tape
Teflon tape is used to ensure a tight seal between connections and prevent leaks in the system. It should be wrapped around the threads of both ends of the new PVC pipe before attaching it to existing components.
3. Pipe Cutter or Hacksaw
A pipe cutter or hacksaw can be used to cut the new PVC pipe to the desired length. A pipe cutter provides cleaner cuts and reduces the risk of splintering or damaging the pipe, but if you don’t have one, you can use a hacksaw instead.
4. PVC Cement
PVC cement is used to bond and secure all connections in the system by melting together both ends of pipes and fittings when applied correctly. There are different types of PVC cement available on the market today; some dry faster than others, while others offer stronger bonds depending on whether they are meant for cold or hot water applications—make sure to purchase cement that matches your specific need.
5 . Protective Equipment
Avoid direct contact with PVC cement, as it can cause skin irritation. When handling chemicals such as PVC Cement, make sure you wear gloves and protective eyewear. In addition, it is important to work in a well-ventilated area with the proper safety equipment. Overall, having these materials ready at the beginning of the installation process will save you time and ensure that you have all the necessary components to complete your sprinkler riser extension installation successfully.
RELATED: How to Find Buried Sprinkler Heads: A Comprehensive Guide
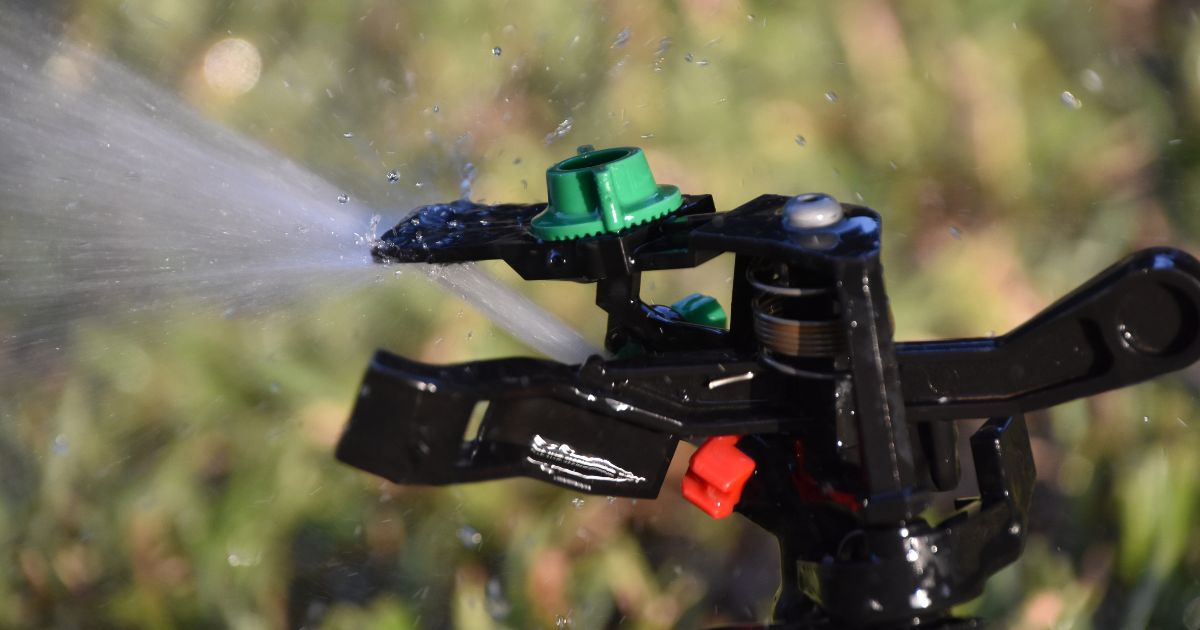
How To Install Sprinkler Riser Extension: Steps for Installation
Turn off the water supply to the sprinkler system
Before starting the installation process, it is important to turn off the water supply to the sprinkler system. This can usually be done by turning a valve located near the main water line or near the backflow prevention device. It is important to make sure that no water is running through the system in order to prevent any potential leaks or accidents.
Remove the existing sprinkler head from the riser using a wrench or pliers
Once you have turned off the water supply, use a wrench or pliers to remove the existing sprinkler head from the riser. Make sure to hold onto both ends of riser while removing it so that it doesn’t twist and damage any connections below ground.
Measure the length of the existing riser and determine how much additional height is needed
After removing your existing sprinkler head, you should measure how long your current riser is in order to figure out how much additional height you need. You can do this by measuring from where your old sprinkler head was attached down to where its connection enters into a fitting (usually an elbow). Measure just past where it threads in.
Cut a piece of PVC pipe to the desired length using a pipe cutter or hacksaw
Once you have determined how much height extension is needed on your current riser, you need to cut a piece of PVC piping with that same length using either pipe cutters or saws. Make sure that there are no burrs on either end of the new PVC pipe after cutting.
Apply Teflon tape and Attach PVC Pipe with Cement
Apply Teflon tape onto both ends of your new PVC extension before attaching it into place. This will help prevent any leaks at each joint.
Next, use PVC cement to attach one end of the new PVC pipe to your existing riser and the other end to your new sprinkler head. Put a generous amount of cement on each end before attaching them together.
Turn on the water supply and test for leaks
After you have attached all parts together, turn the water supply back on and test for any leaks. Run through each sprinkler zone to make sure it’s working correctly and that no water is coming out of any joints or connections along the way. Installing a sprinkler riser extension is a simple process that can significantly improve your lawn irrigation system’s efficiency.
Remember to turn off the water supply before starting work and use Teflon tape and PVC cement to ensure all connections are secure without any leaks. By following these steps, you can be sure that your lawn will receive adequate irrigation while saving on time and effort.
Additional Tips and Considerations
A. Ensuring Tight and Secure ConnectionsAfter installing the sprinkler riser extension, it is crucial to ensure that all connections are tight and secure before turning on the water supply. Loose connections can lead to leaks, which can cause damage to your lawn or garden. To check if a connection is tight, try giving it a gentle tug. If it moves or feels loose, tighten the connection until it is no longer wobbly.
Additionally, applying Teflon tape to the threads of each connection can help create a tighter seal and prevent leaks. Be sure to wrap the tape in a clockwise direction around the threads until they are completely covered. Remember that once you turn on your sprinkler system with a new riser extension installed, be vigilant for any signs of leaks or water spraying where it shouldn’t be coming out from.
B. Leveling Multiple ExtensionsIf you’re installing multiple sprinkler riser extensions in various locations throughout your lawn or garden, it’s essential to make sure they are all level for proper water distribution. Uneven extensions can cause water pressure imbalances that result in dry spots.
Use a level tool when attaching each extension to ensure that they are vertically straight while using PVC cement to bond them properly together with other component pipes or joints. Another tip is that if you’re working on uneven terrain where some parts may require more height than others, consider using flexible riser extensions instead of rigid PVC pipes so as not to restrain their movements with soil shifts over time.
RELATED: How Deep Are Sprinkler Lines Buried
Frequently Asked Questions
How do you install a sprinkler head extension?
To install a sprinkler head extension, simply unscrew the existing sprinkler head, attach the extension to the riser, and then screw the sprinkler head onto the extension. This allows you to raise the height of the sprinkler head as needed.
How does a sprinkler riser work?
A sprinkler riser is a vertical pipe that connects the underground water supply line to the sprinkler head. It allows water to flow from the supply line up to the sprinkler head, providing the necessary pressure to operate effectively.
What is a sprinkler riser?
A sprinkler riser is a vertical pipe that extends above the ground level and connects the underground water supply line to the sprinkler head. It serves as a conduit for water to flow from the supply line to the sprinkler head.
What is the minimum size for a sprinkler riser?
The minimum size for a sprinkler riser depends on the specific requirements of your sprinkler system. However, common sizes for residential systems are 1/2 inch or 3/4 inch in diameter.
How do you replace a riser on a sprinkler head?
To replace a riser on a sprinkler head, you first need to turn off the water supply to the sprinkler system. Then, unscrew the existing riser from the sprinkler head and replace it with a new one, ensuring it is securely attached.
How do I extend my sprinkler range?
To extend the sprinkler range, you can adjust the sprinkler head or replace it with a model that has a greater spray radius. Additionally, you can increase water pressure or install additional sprinkler heads in the area to cover a larger distance.
Conclusion
Installing sprinkler riser extensions can greatly improve the efficiency and effectiveness of your sprinkler system. With careful planning and attention to detail during installation, you’ll find that watering your lawn and garden has become much easier and more equalized across its surface area, allowing for better growth of your plants. Be sure to follow the instructions provided with your sprinkler riser extension kit, use the correct tools and materials, and make sure all connections are tight and secure before turning on the water supply.
Also, remember that proper leveling of multiple extensions is crucial for uniform water distribution. By following these tips and considering your options, you’ll be able to enjoy a lush green lawn all summer long!

