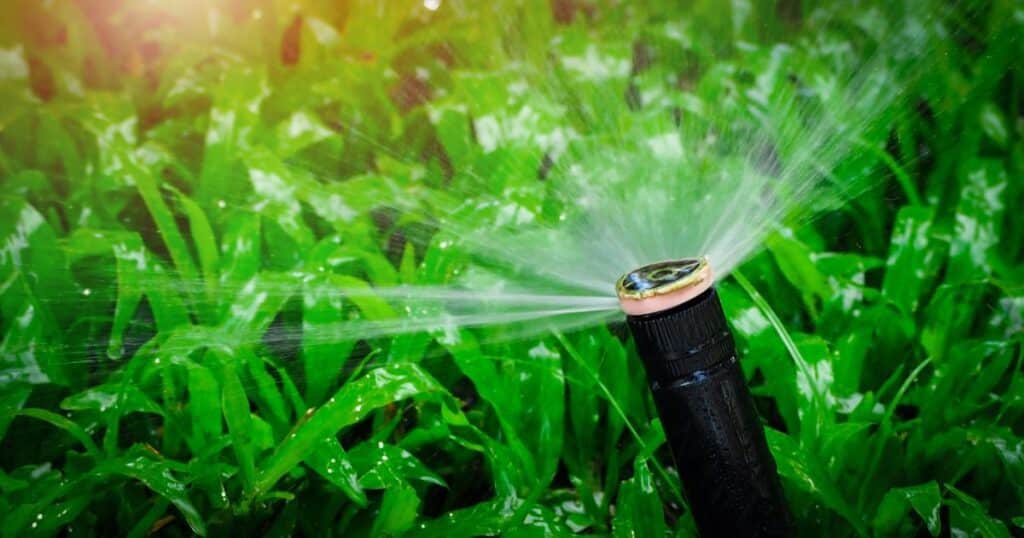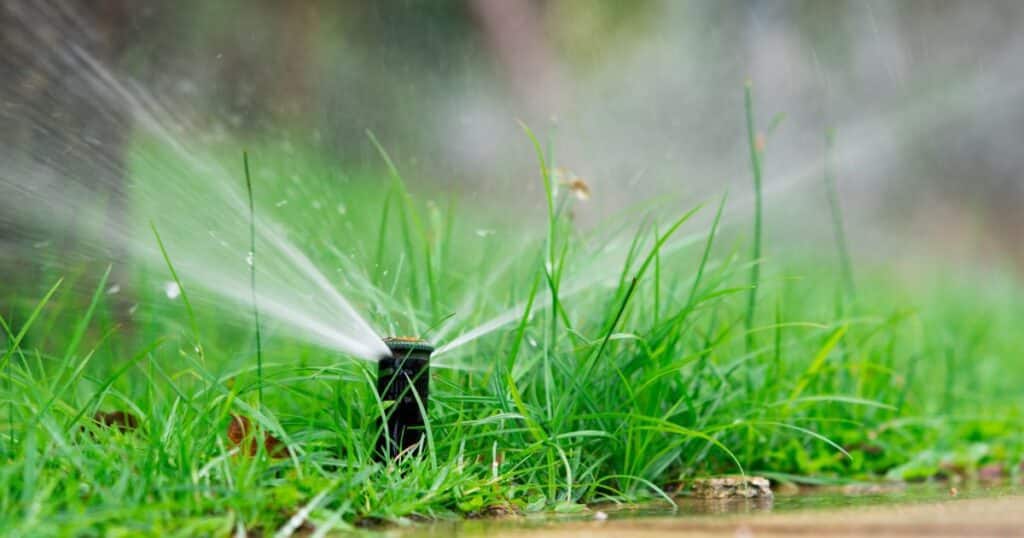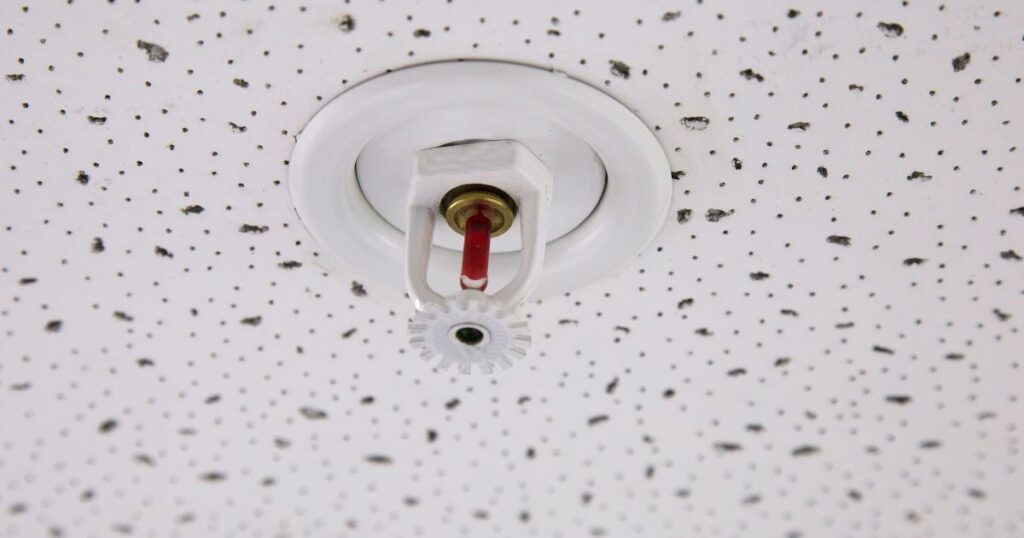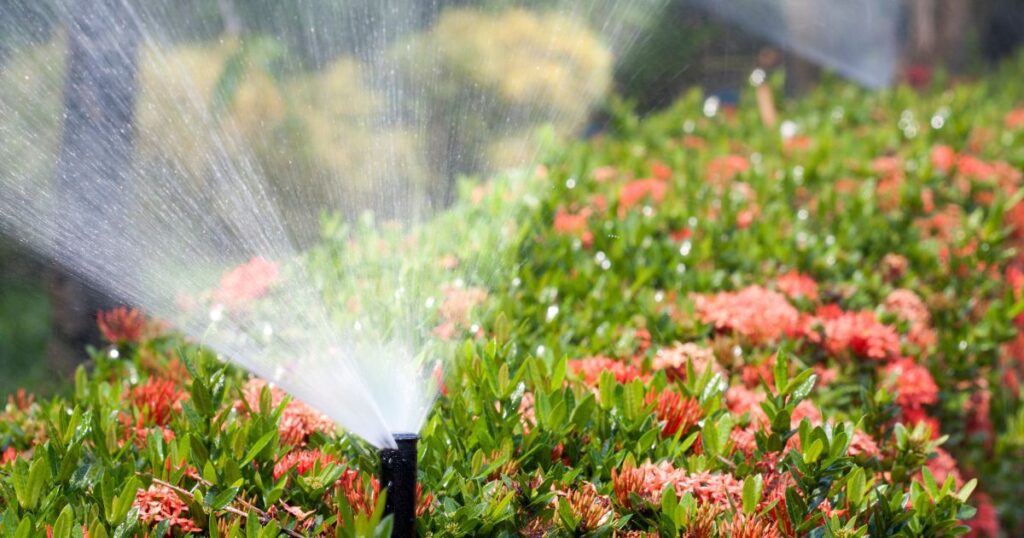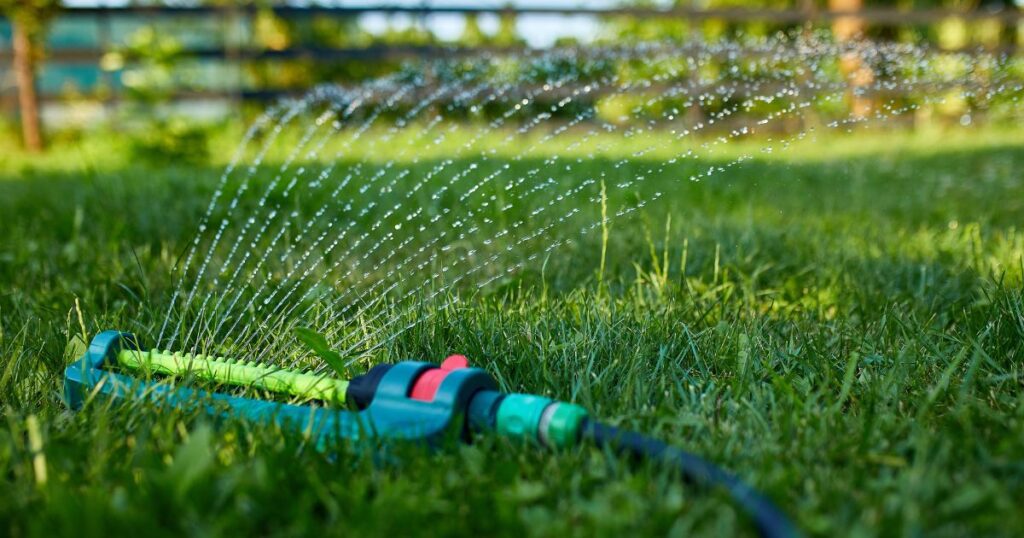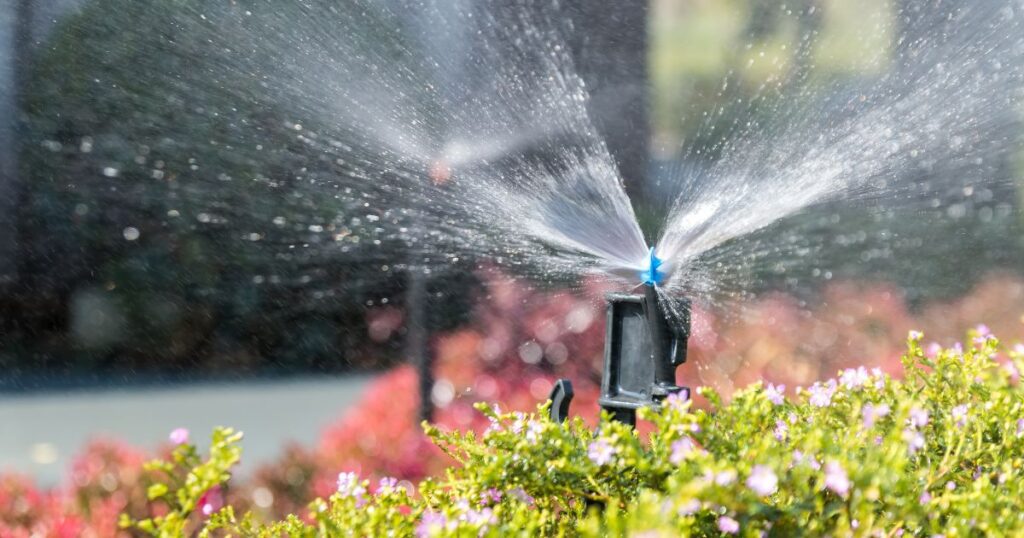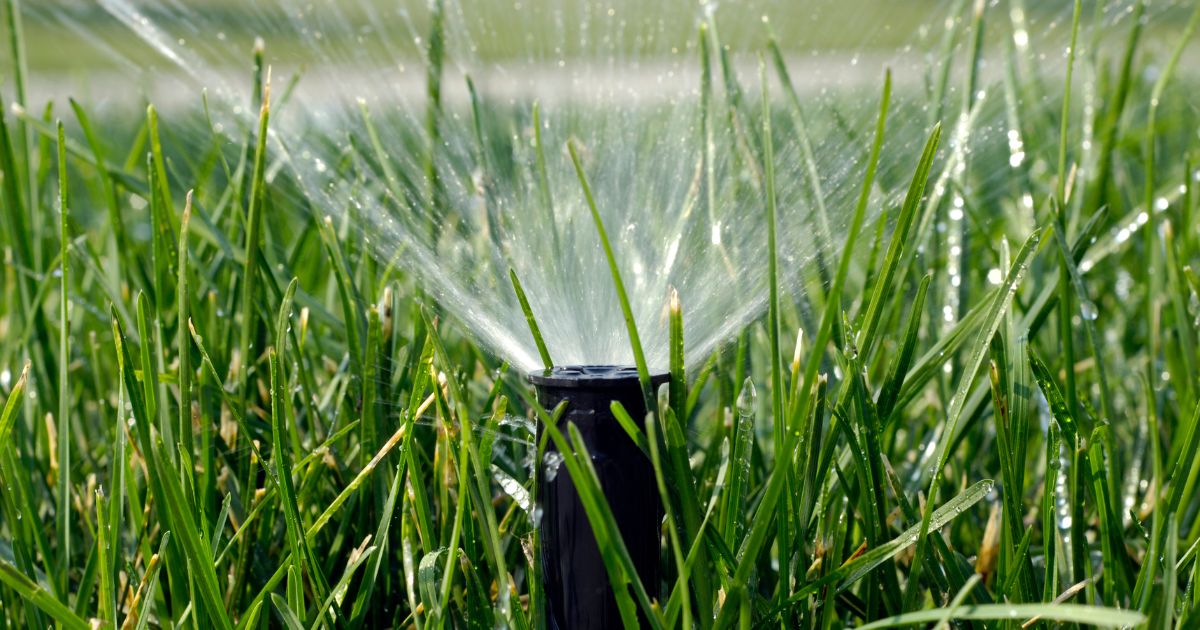
Are your sprinkler heads feeling a bit down? Well, it’s time to give them a boost and elevate their spirits! In this guide, we’ll show you how to raise sprinkler heads to new heights, ensuring that they spray their water with confidence and precision. So get ready to lift those sprinkler heads up and let them shine like the stars of your lawn!
To raise your sprinkler heads, start by locating the adjustment screw on the side of the head. Using a screwdriver or the appropriate tool, turn the screw counterclockwise to loosen it. Once loose, gently lift the sprinkler head to the desired height, and then tighten the adjustment screw clockwise to secure it in place.
The Importance of Sprinkler Heads
Sprinklers are essential components in maintaining a healthy green lawn or lush garden as they distribute water uniformly across an area at regular intervals. One of their critical functions is making sure the soil remains moist at all times so that plants can absorb nutrients efficiently from it during their growth cycle.
A well-maintained sprinkler system keeps each plant consistently hydrated while reducing outdoor water usage by up to 50%, which makes for an environmentally conscious choice when watering outdoor spaces regularly. However, issues such as soil erosion and changes in landscape designs may sink sprinklers below ground level over time due to natural wear and tear on the irrigation system.
When this happens, it becomes challenging for them to function optimally in dispersing water evenly across your lawn or garden.
Raising Sprinkler Heads: Why it’s Necessary
There could be several reasons for needing to raise your sprinkler heads, which include:
Changes in Landscape
Changes in landscaping can call for a modification of sprinkler systems. For instance, raising the sprinklers when adding a new feature, such as a retaining wall, is necessary to ensure that the garden’s water distribution remains consistent. If you change your flowerbeds’ location or add larger shrubs and trees, the sprinklers might need to be raised to reach over them.
Damage from Lawn Mowers
Lawnmowers can also cause damage to sprinkler heads if set too low. As such, it may become necessary to raise some of the damaged heads to their proper height so that they are not at risk of being mowed over.
Soil Erosion
Soil erosion is another common reason that can cause sprinkler heads to sink. When soil around them shifts or gets displaced due to rain or harsh weather conditions, it can lead to uneven distribution of water on your lawn or garden.
If you find any sunk-in areas around the irrigation system’s pipes and heads, it’s time for corrective action by raising the system’s components again. By understanding how these factors affect sprinklers’ performance and how they lead us to need adjustments, such as raising our existing systems’ height requirements, we can have a healthy and green lawn throughout the year.
Reasons for Raising Sprinkler Heads
The Importance of Sprinkler Head Height
Sprinkler heads are an integral part of a lawn irrigation system, as they ensure that the water is distributed evenly and effectively across your yard or garden. The height at which the sprinkler head sits can greatly affect its efficiency, as well as the health of your plants.
When sprinkler heads are too low, they may not be able to reach certain areas of your lawn or garden, resulting in uneven watering and potential damage to your plants. On the other hand, if your sprinkler heads are too high, then water may spray over areas where it is not needed.
This could end up wasting water and causing runoff which can damage nearby plants. By raising your sprinkler heads to the appropriate height for your lawn or garden’s needs, you can save both time and money on watering costs while preventing plant damage.
Common Reasons for Needing to Raise Sprinkler Heads
There are multiple reasons why you might need to raise the height of your sprinkler heads. Here are some common reasons why this might be necessary: 1) Changes in Landscaping: If you have recently made changes to your landscaping, such as adding new mulch or soil, installing new flower beds, or planting trees that have grown significantly higher since their initial installation then you may find that some areas of your lawn don’t receive enough water from existing sprinklers.
2) Soil Erosion: Over time soil erosion can cause dips in the ground which result in inconsistent coverage from existing sprinklers. If this is left unaddressed, it can lead to brown spots on grass and unhealthy conditions for plants.
3) Damaged Sprinklers: Accidents will happen! Lawnmowers or human error could cause damage to individual sprinklers, which would need replacing at a higher height.
Benefits of Raising Sprinkler Heads
Raising the height of your sprinkler heads comes with several key benefits. First and foremost, it increases the efficiency of your irrigation system. This is because the water is more precisely delivered to where it’s needed, ensuring that every inch of your lawn or garden is covered with an adequate amount of water.
By raising sprinkler heads, you also reduce the risk of plant damage by preventing over-spray on non-landscaped areas such as sidewalks and driveways. Additionally, by reducing runoff from over-watering, you can help prevent soil erosion while saving on water costs.
Preventing Property Damage
When you have an irrigation system with sprinklers that are too low, they can spray large amounts of water directly onto buildings and structures, which can cause damage over time – especially if they’re made from masonry or other porous materials. By raising sprinkler heads to a proper height, you can protect your property from potential damage caused by excessive watering. In addition to protecting property against water damage, raising sprinkler heads also reduces maintenance costs in other areas like painting or cleaning gutters that could become discolored due to consistent moisture exposure.
Improving Watering Efficiency
Efficiency in watering means better use of resources such as water and energy which could lead to savings both for homeowners and communities as a whole. When sprinkler heads are raised to their appropriate heights, less water is wasted through evaporation or runoff from nearby structures leading to lower overall usage – not only saving money but conserving our planet’s most precious resources.
Tools Needed
Raising sprinkler heads requires a few tools that are readily available at any hardware store or garden center. Here are the tools you will need:
Shovel
A shovel is an essential tool for digging around the existing sprinkler head to expose the PVC pipe that feeds it. Make sure that you have a sturdy, sharp shovel with a comfortable handle grip to make digging easier and less tiresome.
Pipe Cutter
A pipe cutter is necessary for cutting the PVC pipe below the existing sprinkler head. This tool provides clean and precise cuts on PVC pipes up to 1 inch in diameter. To use a pipe cutter, simply place it over the section of PVC pipe you want to cut, tighten the blade onto the pipe by turning the knob, and rotate it around until it cuts through.
PVC Glue
PVC glue is used to bond new pieces of PVC piping together during installation. It creates a strong, lasting bond between pieces of plastic piping when applied properly.
To use PVC glue, clean both ends of each piece thoroughly with sandpaper or a cleaner solvent before applying glue. Then apply glue to one end and attach it firmly to the other end.
New PVC Pipes
You will need new pieces of PVC piping in various lengths to extend your existing pipe after cutting. Choose pipes that match the diameter of your existing sprinkler system pipes for proper fitment.
Safety Gear
It’s important to wear appropriate safety gear while working on any home improvement project, including raising sprinkler heads. Wear protective gloves, safety goggles or glasses, long sleeves, and pants before getting started.
Using all these tools correctly can help prevent accidents while working. Now that you have all the necessary tools let’s move on to the next step – assessing why you need to raise your sprinkler heads.
How to Raise Sprinkler Heads: Steps to Do
Digging Around the Existing Head
The first step to raising a sprinkler head is to shut off the water supply. This is important for safety reasons as well as preventing water damage during the process. To dig around the existing head, use a shovel or other digging tool to remove soil and debris until you can see the base of the sprinkler head.
Be careful not to damage any surrounding plants or landscaping. Once you have cleared enough space around the head, use a small hand-held saw or PVC cutter to cut through the PVC pipe below the sprinkler head.
Attaching New PVC Pipe with Couplings and Glue
After removing the old sprinkler head, it’s time to attach a new piece of PVC pipe with couplings and glue. If possible, measure and cut a piece of PVC pipe to match the length of what was removed (plus any additional height needed).
Apply PVC glue to both ends of the pipe and insert each end into a coupling. Make sure everything is lined up properly before securing in place.
Installing a New Sprinkler Head at Appropriate Height
Once you have attached your new piece of PVC pipe, it’s time to install your new sprinkler head at an appropriate height. This will depend on factors such as the type of plants being watered and soil type.
Generally, heads should be raised about 1-2 inches above ground level (or even higher in sandy soil). Screw in your new sprinkler head securely onto your newly installed pipe.
Tips on Ensuring Proper Alignment
Proper alignment is key when installing your new sprinkler head after raising it from its previous position. An improperly aligned sprinkler could lead to uneven watering or damage to surrounding plants if they are hit with too much or too little water.
Before burying the pipe and head, test it to ensure it is straight and pointing in the correct direction. Use a level to make sure it’s not tilted, and adjust as necessary.
Testing for Leaks
Once your new sprinkler head has been installed and tested for alignment, turn the water supply back on and test for leaks. If there are any leaks at the sprinkler head or couplings, tighten them until they stop leaking.
Check for any other leaks along the length of the pipe as well. It’s important to check for leaks before fully burying your new pipe so that any adjustments can be made easily without having to dig everything up again later.
By following these steps, you can successfully raise a sprinkler head on your own with confidence and ease. Properly raising your sprinkler heads can improve watering efficiency and help maintain a healthy lawn or garden!
Troubleshooting Tips
Leaking Joints
One of the most common issues that may arise during the process of raising sprinkler heads is leaking joints. Sometimes, despite the careful application of glue, a joint between PVC pipes may not be airtight.
To fix this problem, you can try applying more glue to the joint or using a repair coupling to rejoin the pipes. If you notice a leak around the sprinkler head itself, it could be due to damage to the head or an issue with its installation.
Make sure that you have adjusted the new head properly and tightly screwed it in place. If there are visible cracks or damage on the sprinkler head itself, it may need to be replaced entirely.
Low Water Pressure
If you notice that your newly raised sprinkler heads aren’t getting enough water pressure, even after testing your system for any leaks, then there could be an issue with your supply line. Check if there are any clogs in your line or if there’s too much debris present in your pipe.
Another reason why water pressure might decrease after raising sprinkler heads is due to having too many heads installed on one zone. Depending on the number and type of heads installed within a single zone, water pressure might become limited — causing some sections of your lawn or garden to receive less water than others.
Sprinklers Not Popping Up
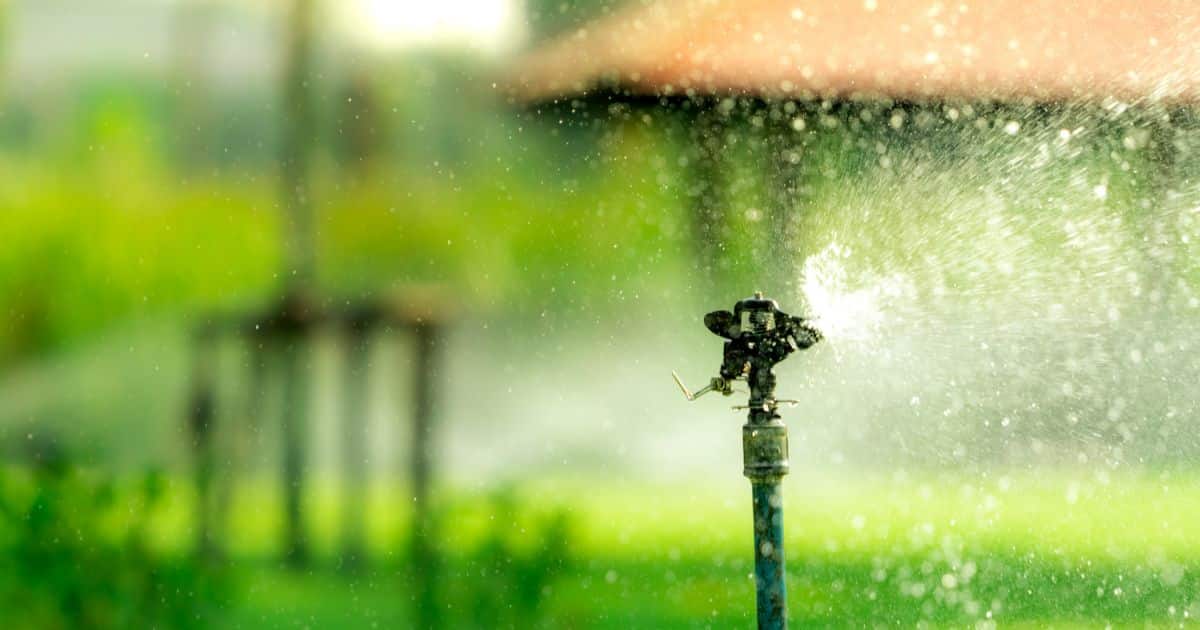
If you notice that some of your newly raised sprinklers aren’t popping up as they should during operation, then one problem could be due to dirt being left over inside of them from digging them up during installation. Another cause for this issue is when dirt falls down where the riser connects with the head itself — causing improper pop-up action.
To fix this problem without digging up all parts again simply unscrew and disconnect the riser from the sprinkler head. Use a pipe cutter to trim off a small amount of the broken or damaged tip and reconnect everything again.
Frequently Asked Questions
How do I find a buried sprinkler box?
To find a buried sprinkler box, you can use a metal detector or a pipe locator device to detect the presence of the box underground. Additionally, visually following the path of the sprinkler lines can help you locate the general area of the box.
How far in the ground are sprinkler lines?
Sprinkler lines are typically buried at a depth of 6 to 8 inches in residential settings. However, the exact depth may vary depending on local codes and regulations, as well as the type of soil and climate conditions.
How low are sprinkler lines buried?
Sprinkler lines are usually buried at a depth of 6 to 8 inches in residential applications. However, the depth may vary depending on local codes and requirements, as well as the specific needs of the sprinkler system.
What is the best way to locate a buried sprinkler valve?
The best way to locate a buried sprinkler valve is by using a combination of visual inspection, following the path of the sprinkler lines, and using specialized valve locating tools or equipment. These tools can help detect the valve’s signal or vibrations, making it easier to pinpoint its exact location underground.
How deep are sprinkler valves buried?
Sprinkler valves are typically buried at a depth of 6 to 12 inches in residential settings. However, the depth may vary depending on local codes, installation requirements, and the specific type of valve being used.
How do you trace a sprinkler wire?
To trace a sprinkler wire, you can use a wire tracer or toner, which is a specialized electronic device that helps locate and follow the path of the wire underground. By connecting the device to the wire or using it in proximity, you can track the wire’s route and identify its location without digging.
Conclusion
Raising sprinkler heads is not a terribly complex process, but it can be tricky if you’re not familiar with PVC piping or if you don’t know how to troubleshoot common issues. By following these steps and tips, you’ll be able to raise your sprinkler heads successfully without any complications. Remember that irrigation systems require regular maintenance, so it’s important to check your system regularly for leaks and other issues.
Properly maintaining your lawn or garden will ensure that your plants stay healthy and thrive over time. With these skills in hand, you’re well on your way to becoming an expert on all things related to lawn care!

